the feed
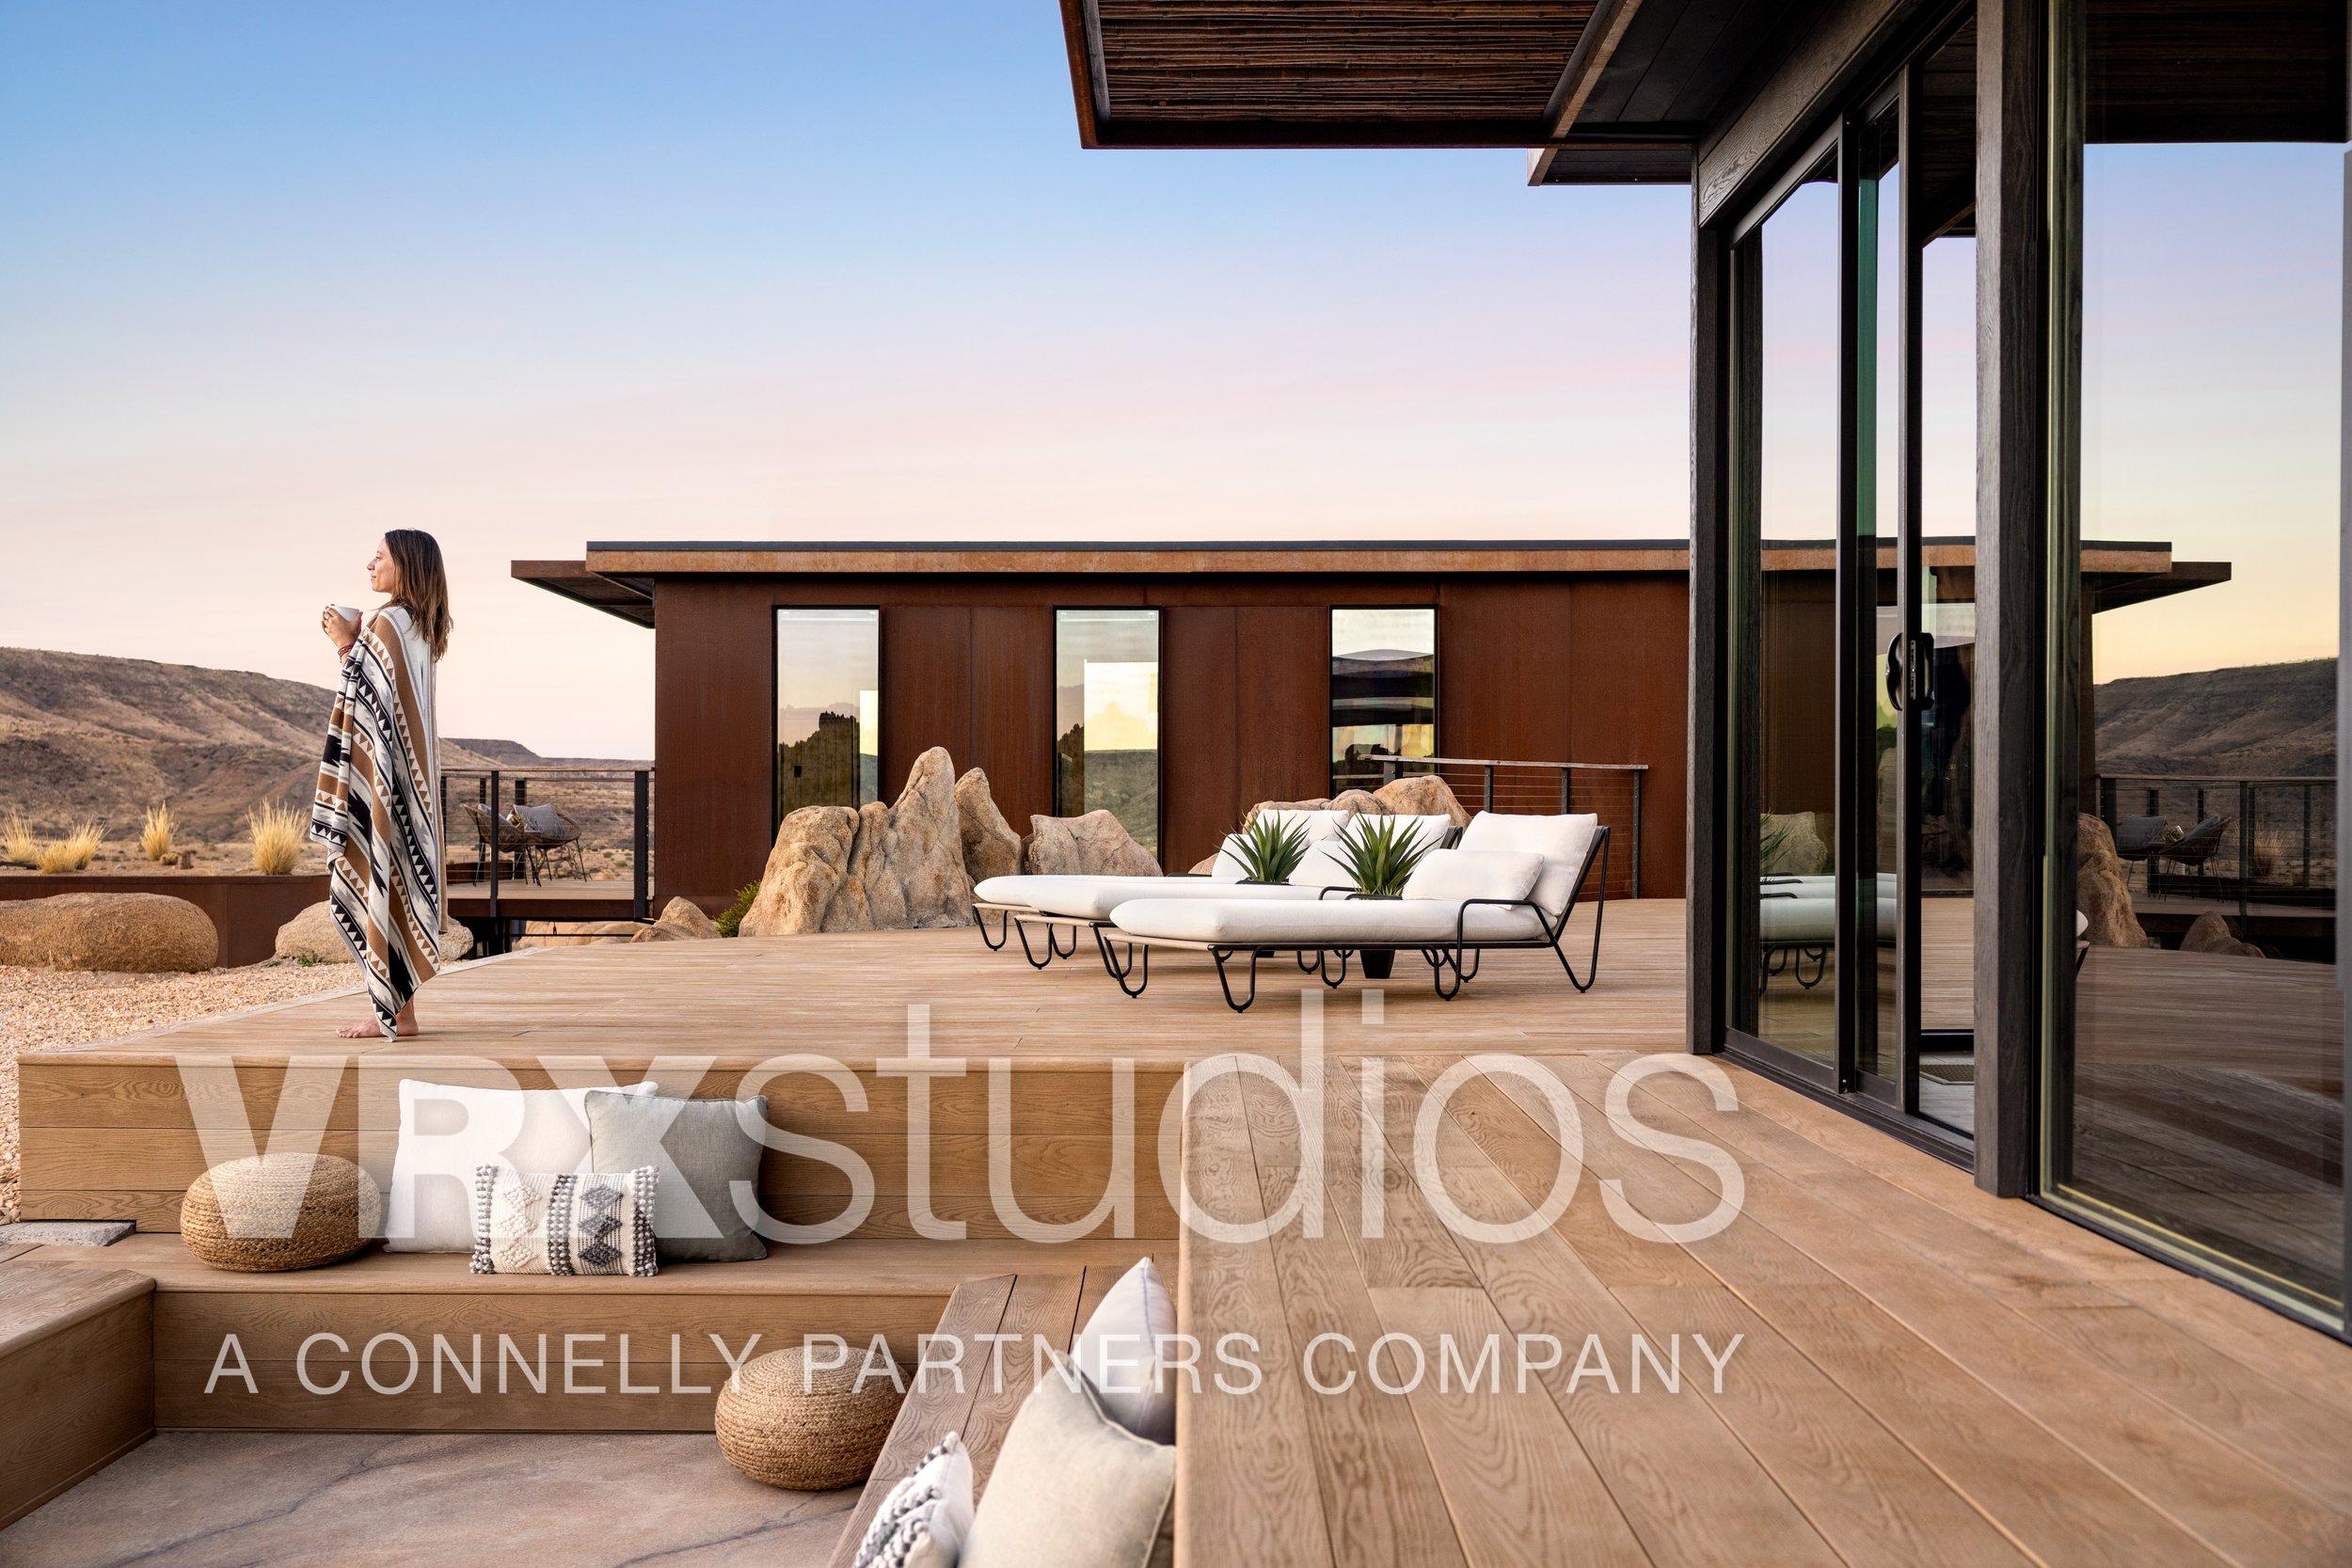
Zen in the Desert
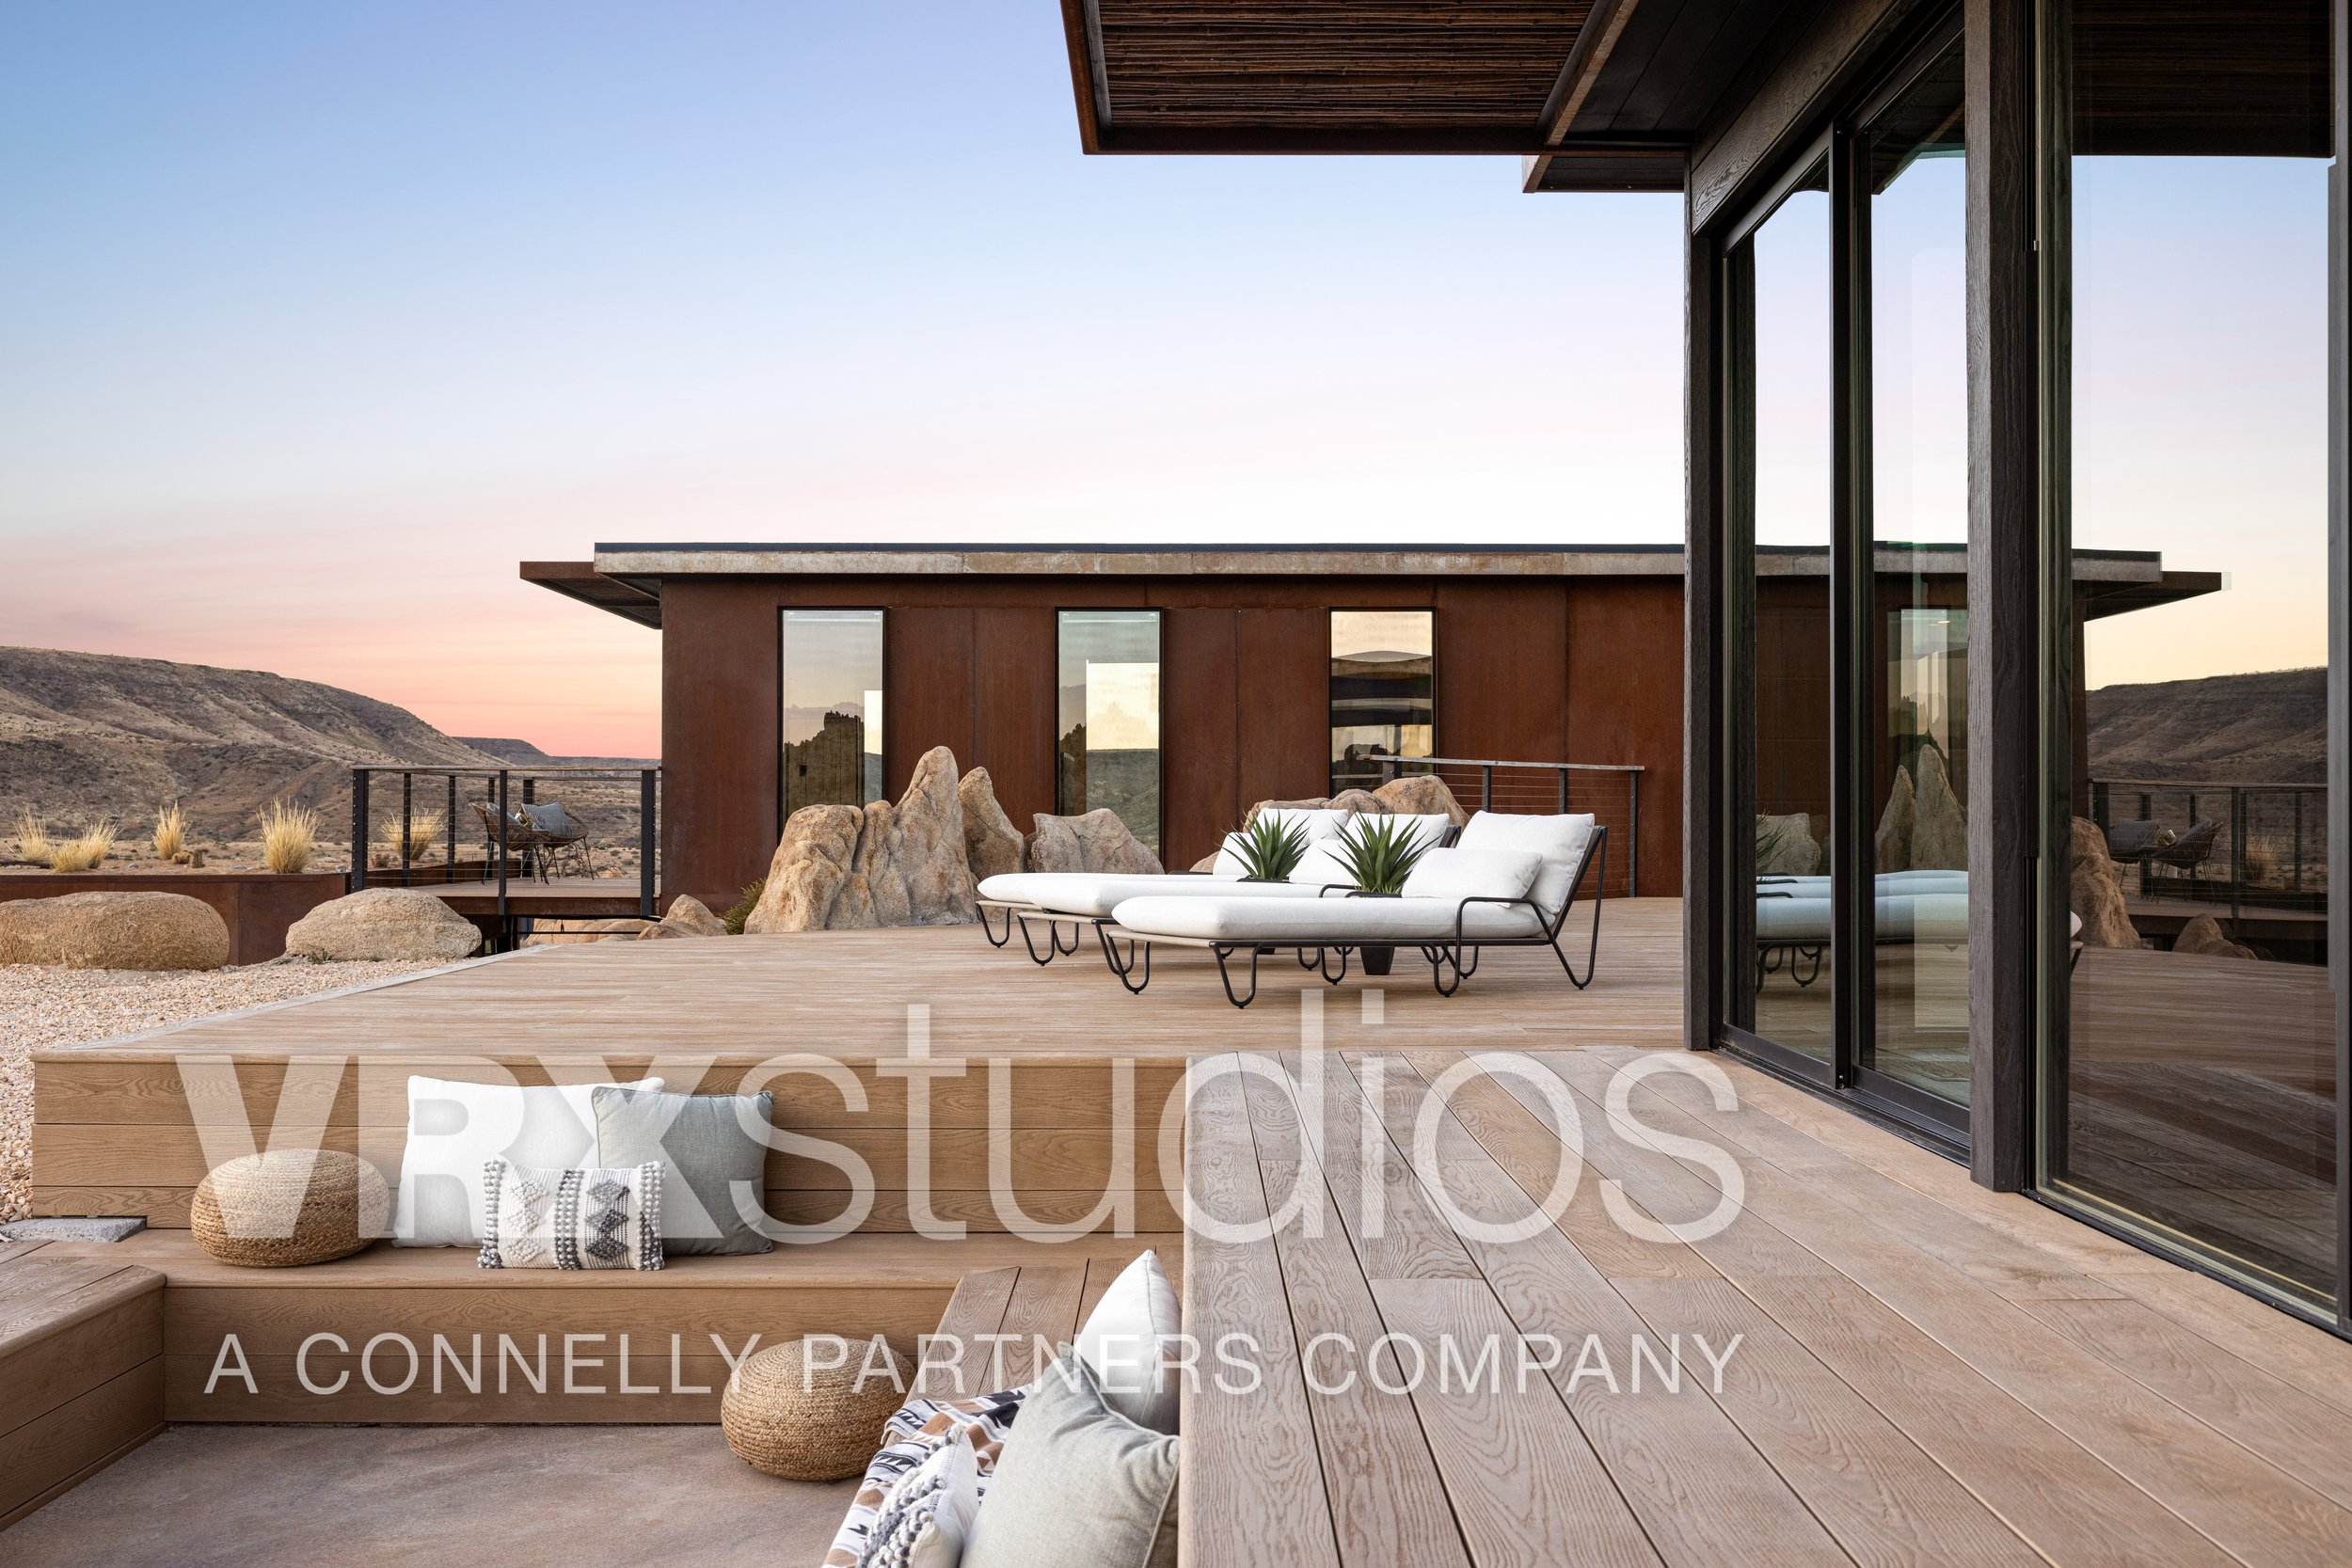
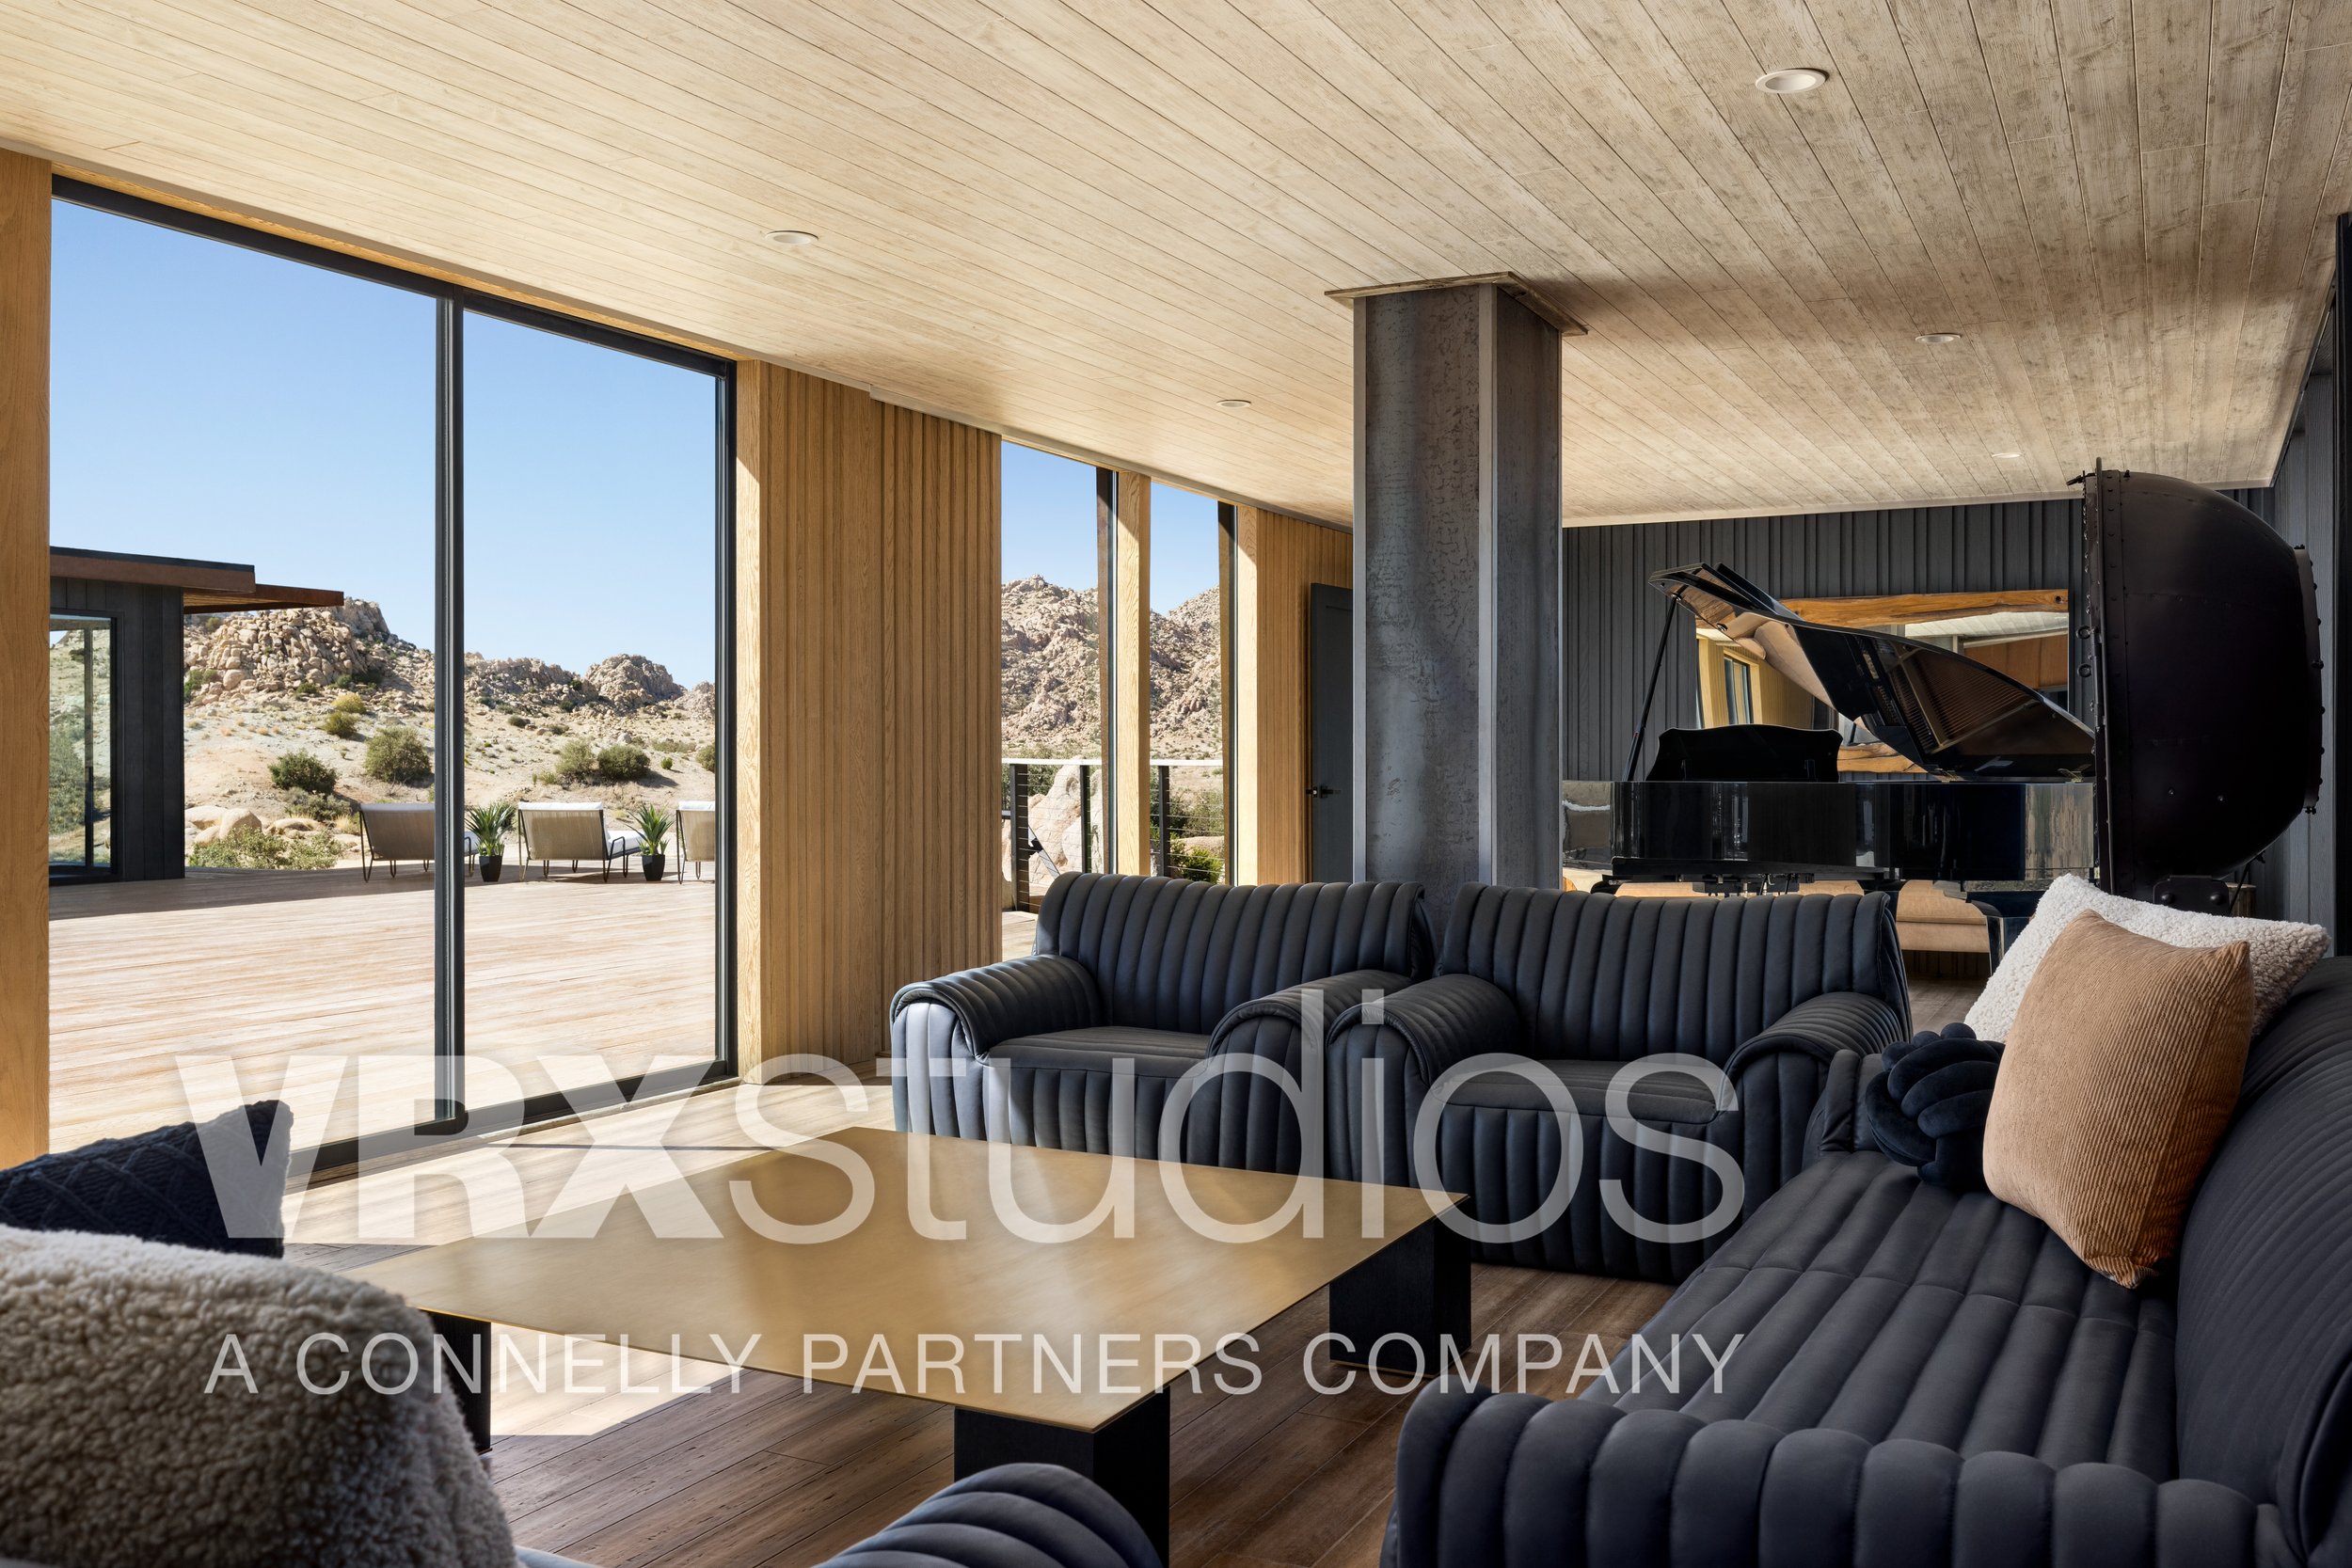
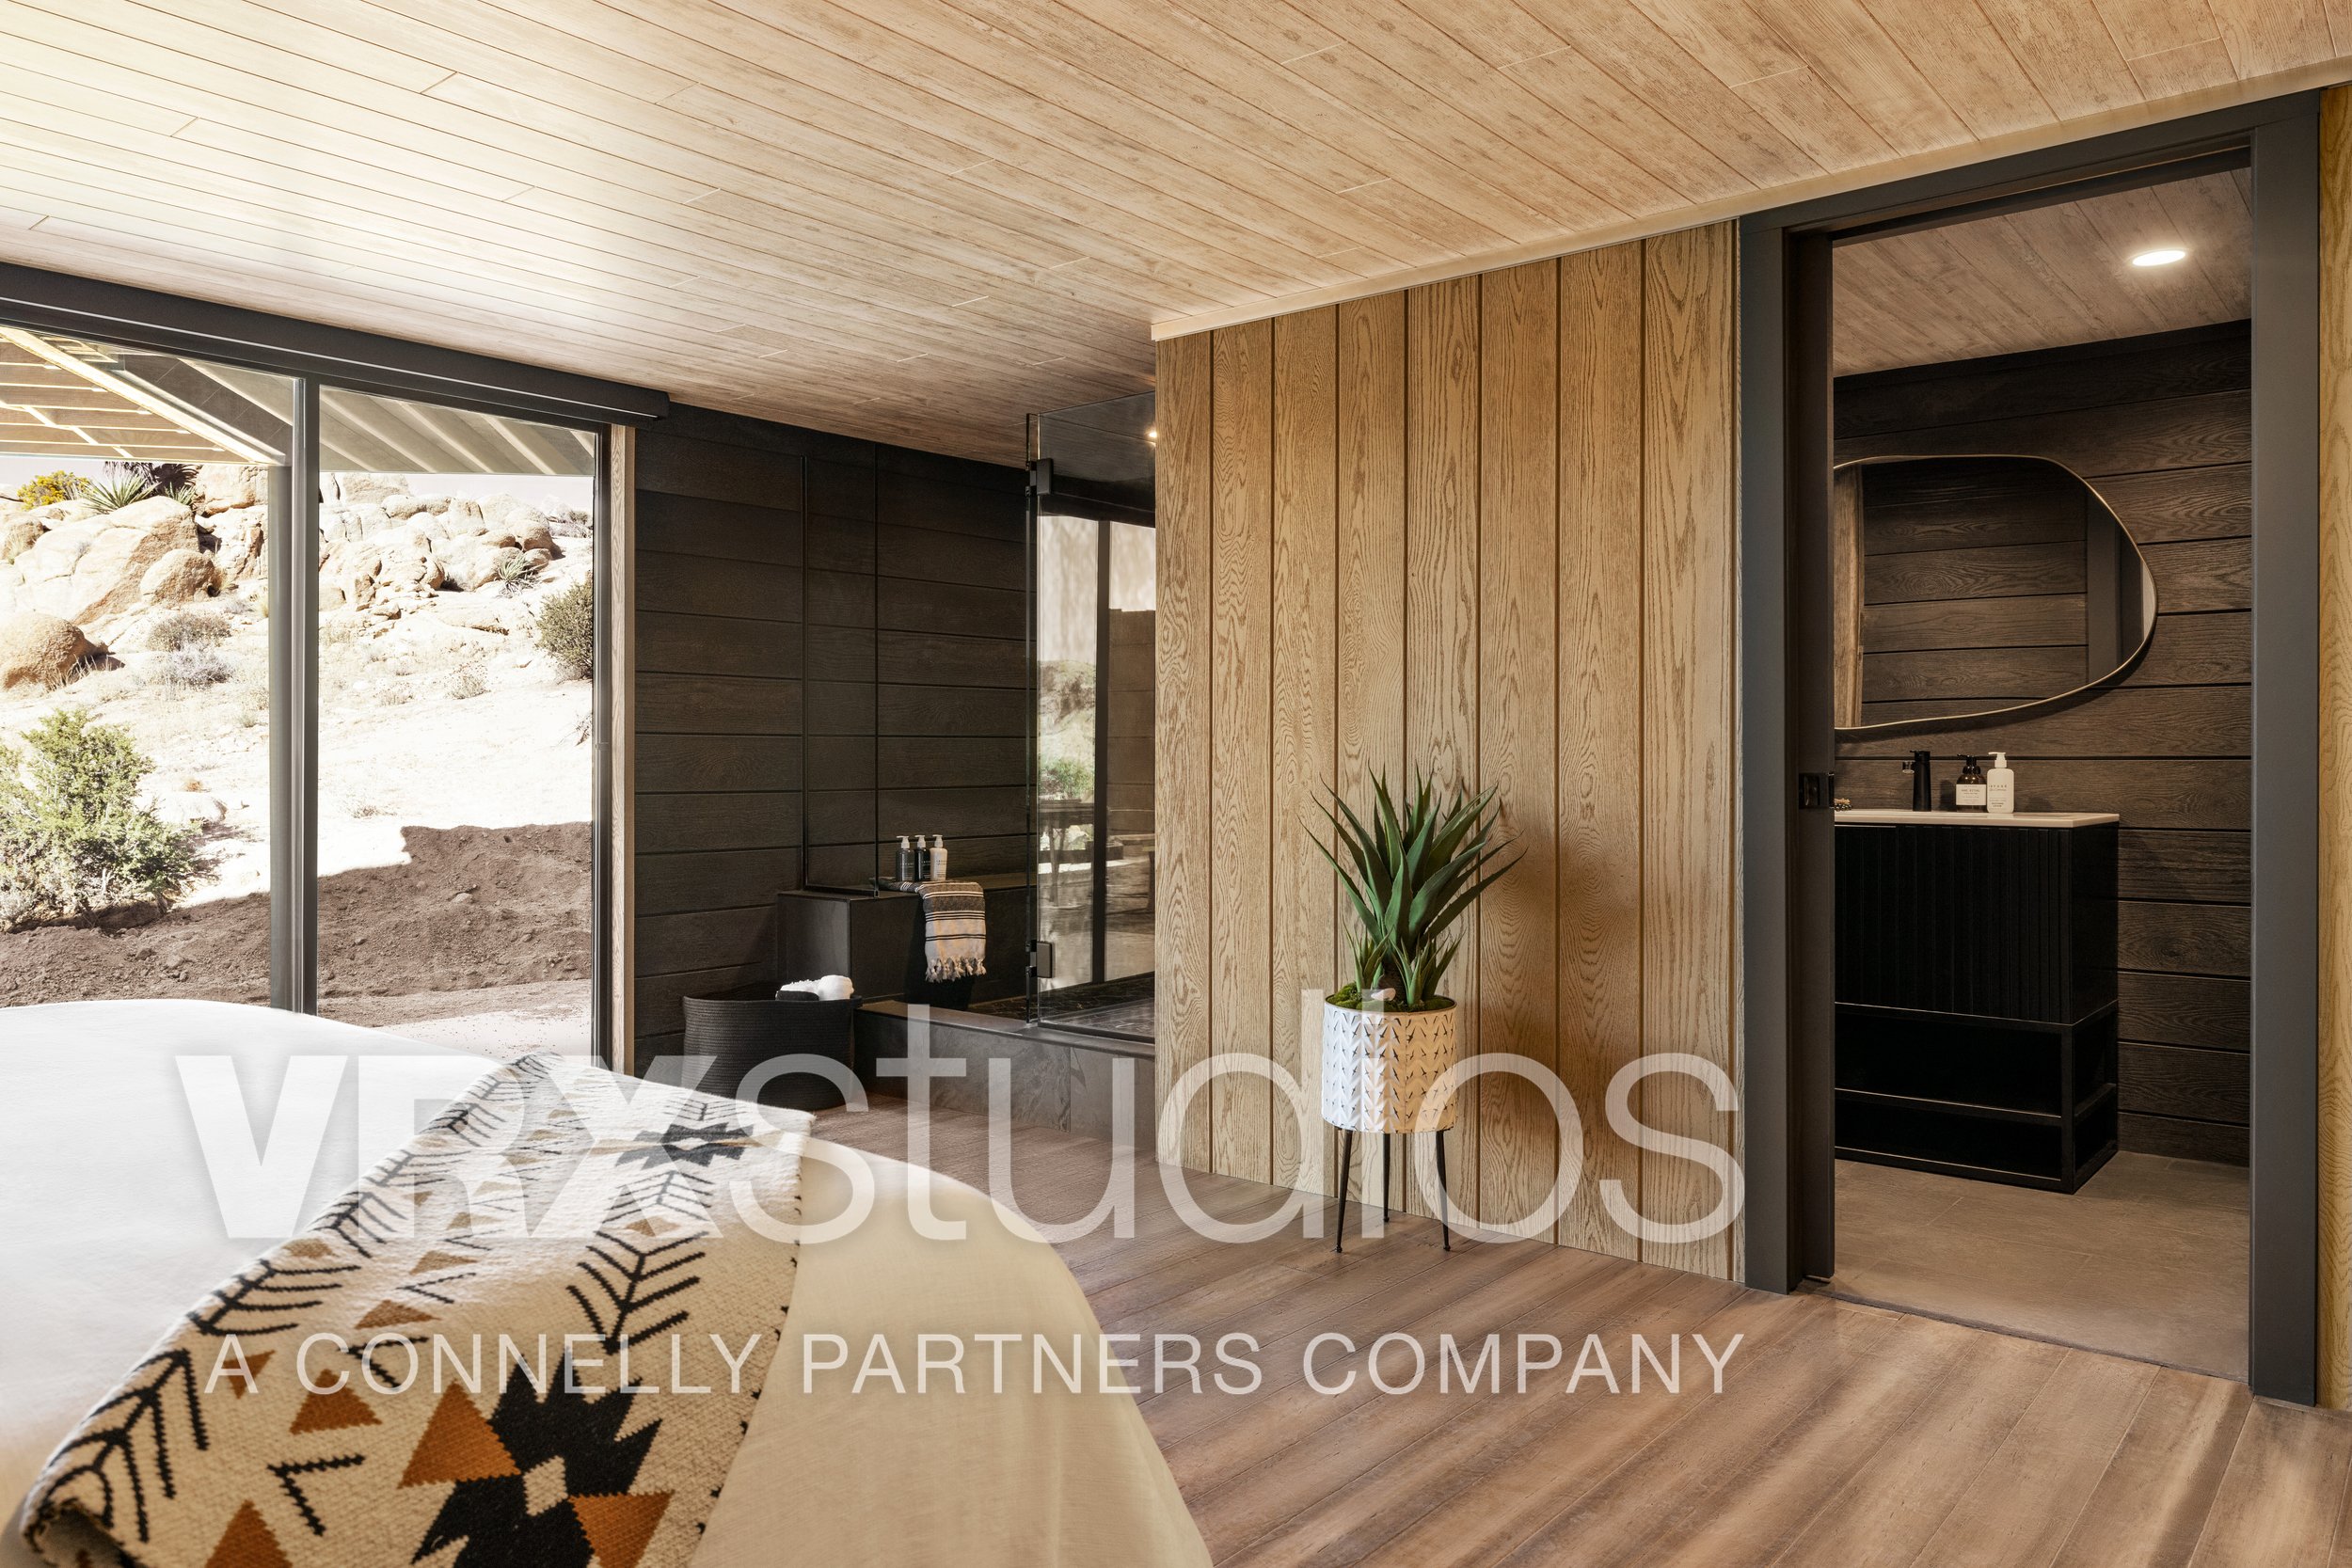
Photographer: Nick Tortajada, Client: VRX Studios, Project: Millboard PowerPlay Product Showcase Photoshoot, Stylist: Jennifer Cienfuegos, Date: Oct 2023
Client: VRX Studios
Project: Millboard PowerPlay Product Showcase Photoshoot
Stylist: Jennifer Cienfuegos
Date: Oct 2023
One of the coolest projects I have had a chance to photograph to date! This container house build in the California desert near Joshua Tree National Park showcases so many incredible uses of Millboard, specializing in hand-moulded composite decking and cladding solutions. We spent 2.5 days watching the light play across the different elements inside and outside this home to capture some perfect moments.
2023 Black Friday Sales for Content Creators
Don't miss out - Some of my favorite camera gear is on sale this week for Black Friday 2023 such as Ulanzi and Peak Design
'Tis the season once more—the time when anticipation fills both my mind and heart with the promise of fantastic sales and opportunities to snag incredible deals on the camera gear I've been eyeing all year. Yet, it's also that season when my wallet sheds a tear as it inevitably empties out in pursuit of these irresistible offers.
If you want to skip all of the fluff and get straight to the purchasing, head straight to this Amazon list that I threw together.
You will see a lot of gear from Ulanzi which is not by coincidence. I came across them while looking for a solution to mounting my camera in odd places to get unique angles. Most things that I tried from brands like Smallrig or Manfrotto didn't infuse me with much trust when supporting my camera and lens. Then I found the Ulanzi Super Clamp paired with the U-80L Ballhead which smashed the competition! I now own at least 3 of these setups and keep them in different bags so I always have them on the go. These easily hold my Canon R5 with the 70-200mm lens.
For tripods, I usually go with the Peak Design Travel Tripod CF when traveling or backpacking. I'll be honest, it is a bit heavier than I would like, but I love the small footprint and the quick setup/breakdown. It's worth checking out the Ulanzi Zero Y tripod - I don't have any hands-on with this, but I have heard great things. I believe it is a bit bigger when packed down but it weighs a little less.
Most items on here I use personally, and most of them every single day. Some items, such as the DJI Pocket 3 Creator Combo, I will be getting because I believe it is going to be a huge asset in my workflow. Side note: it is NOT on a Black Friday sale, but if you want to get your hands on it anytime soon, you need to order asap.
I included the Jackery 1000- Plus Solar Generator with Panels because it is my best friend when I am off the grid, in the backcountry, camping, and creating. It keeps all of my camera gear powered up and as long as I have sunshine, the 2 panels keep it topped off. You can see my review of the Jackery 1000W Setup which has all the specs you could want to know about the setup.
The Landmark Project National Forest Week Campaign
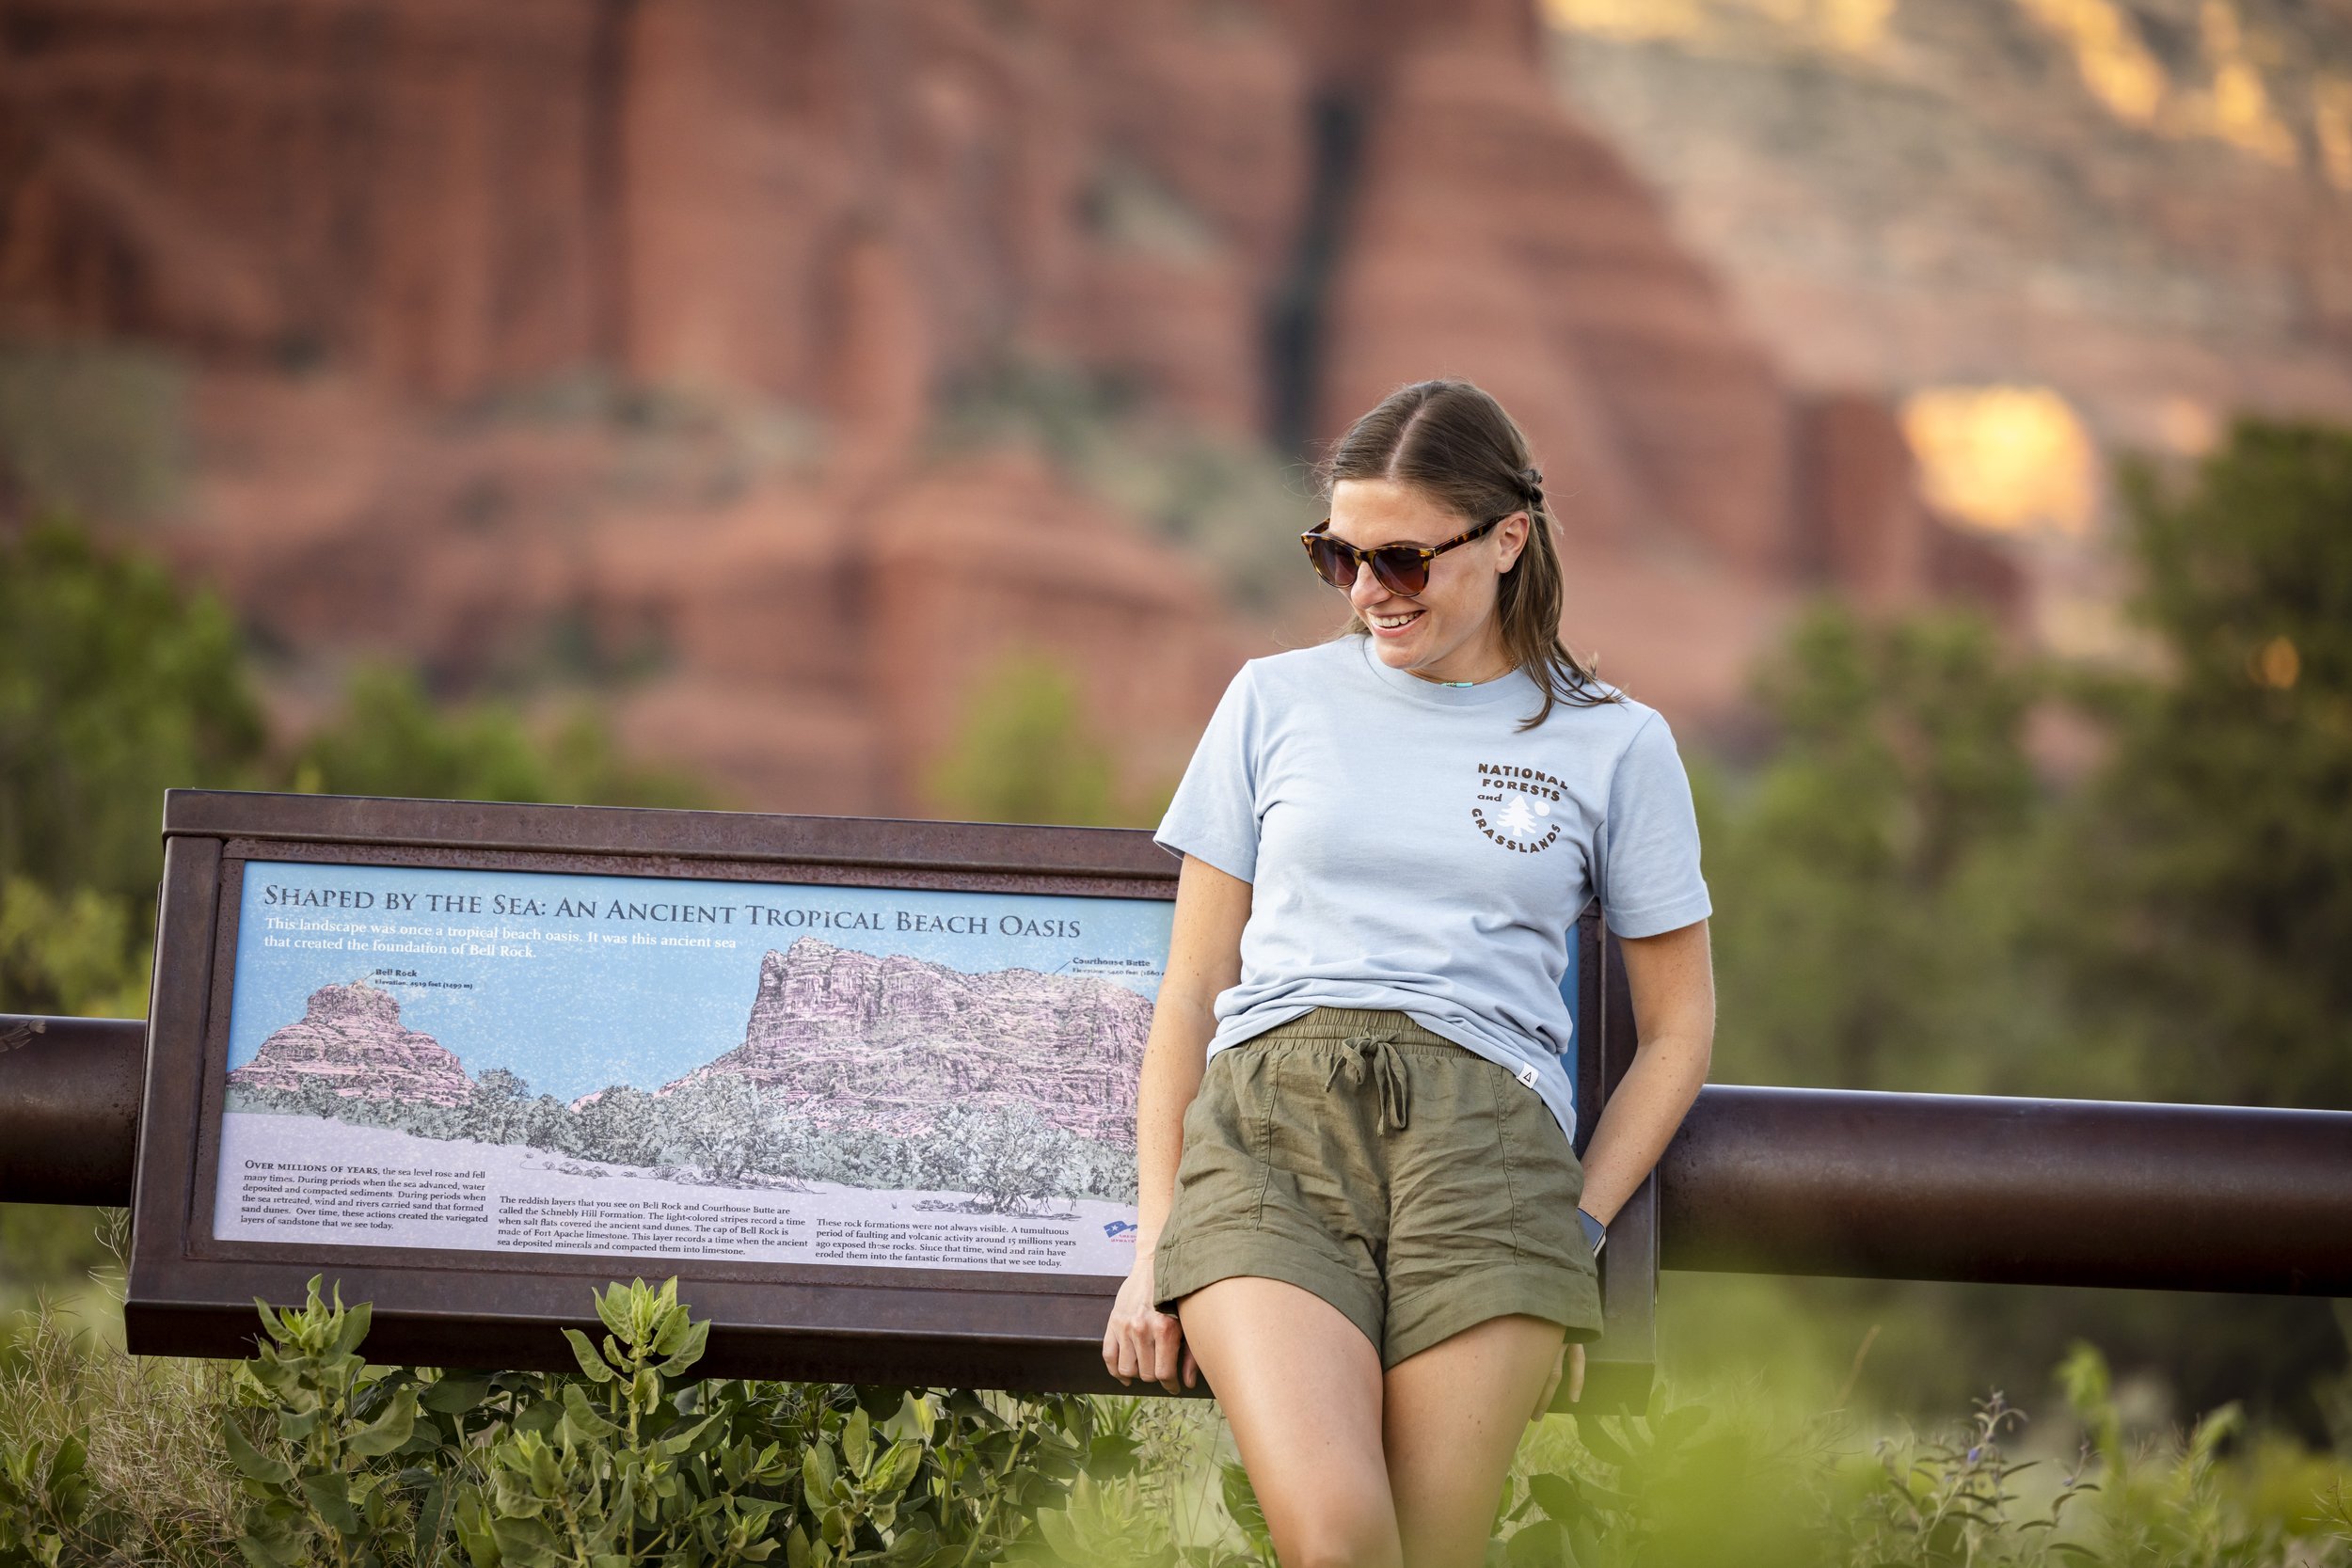
Photoshoot for the Landmark Project to celebrate National Forest Week 2023.
Client: The Landmark Project
Project: National Forest Week 2023 Campaign
Location: Sedona + Oak Creek Canyon
Date: July 2023
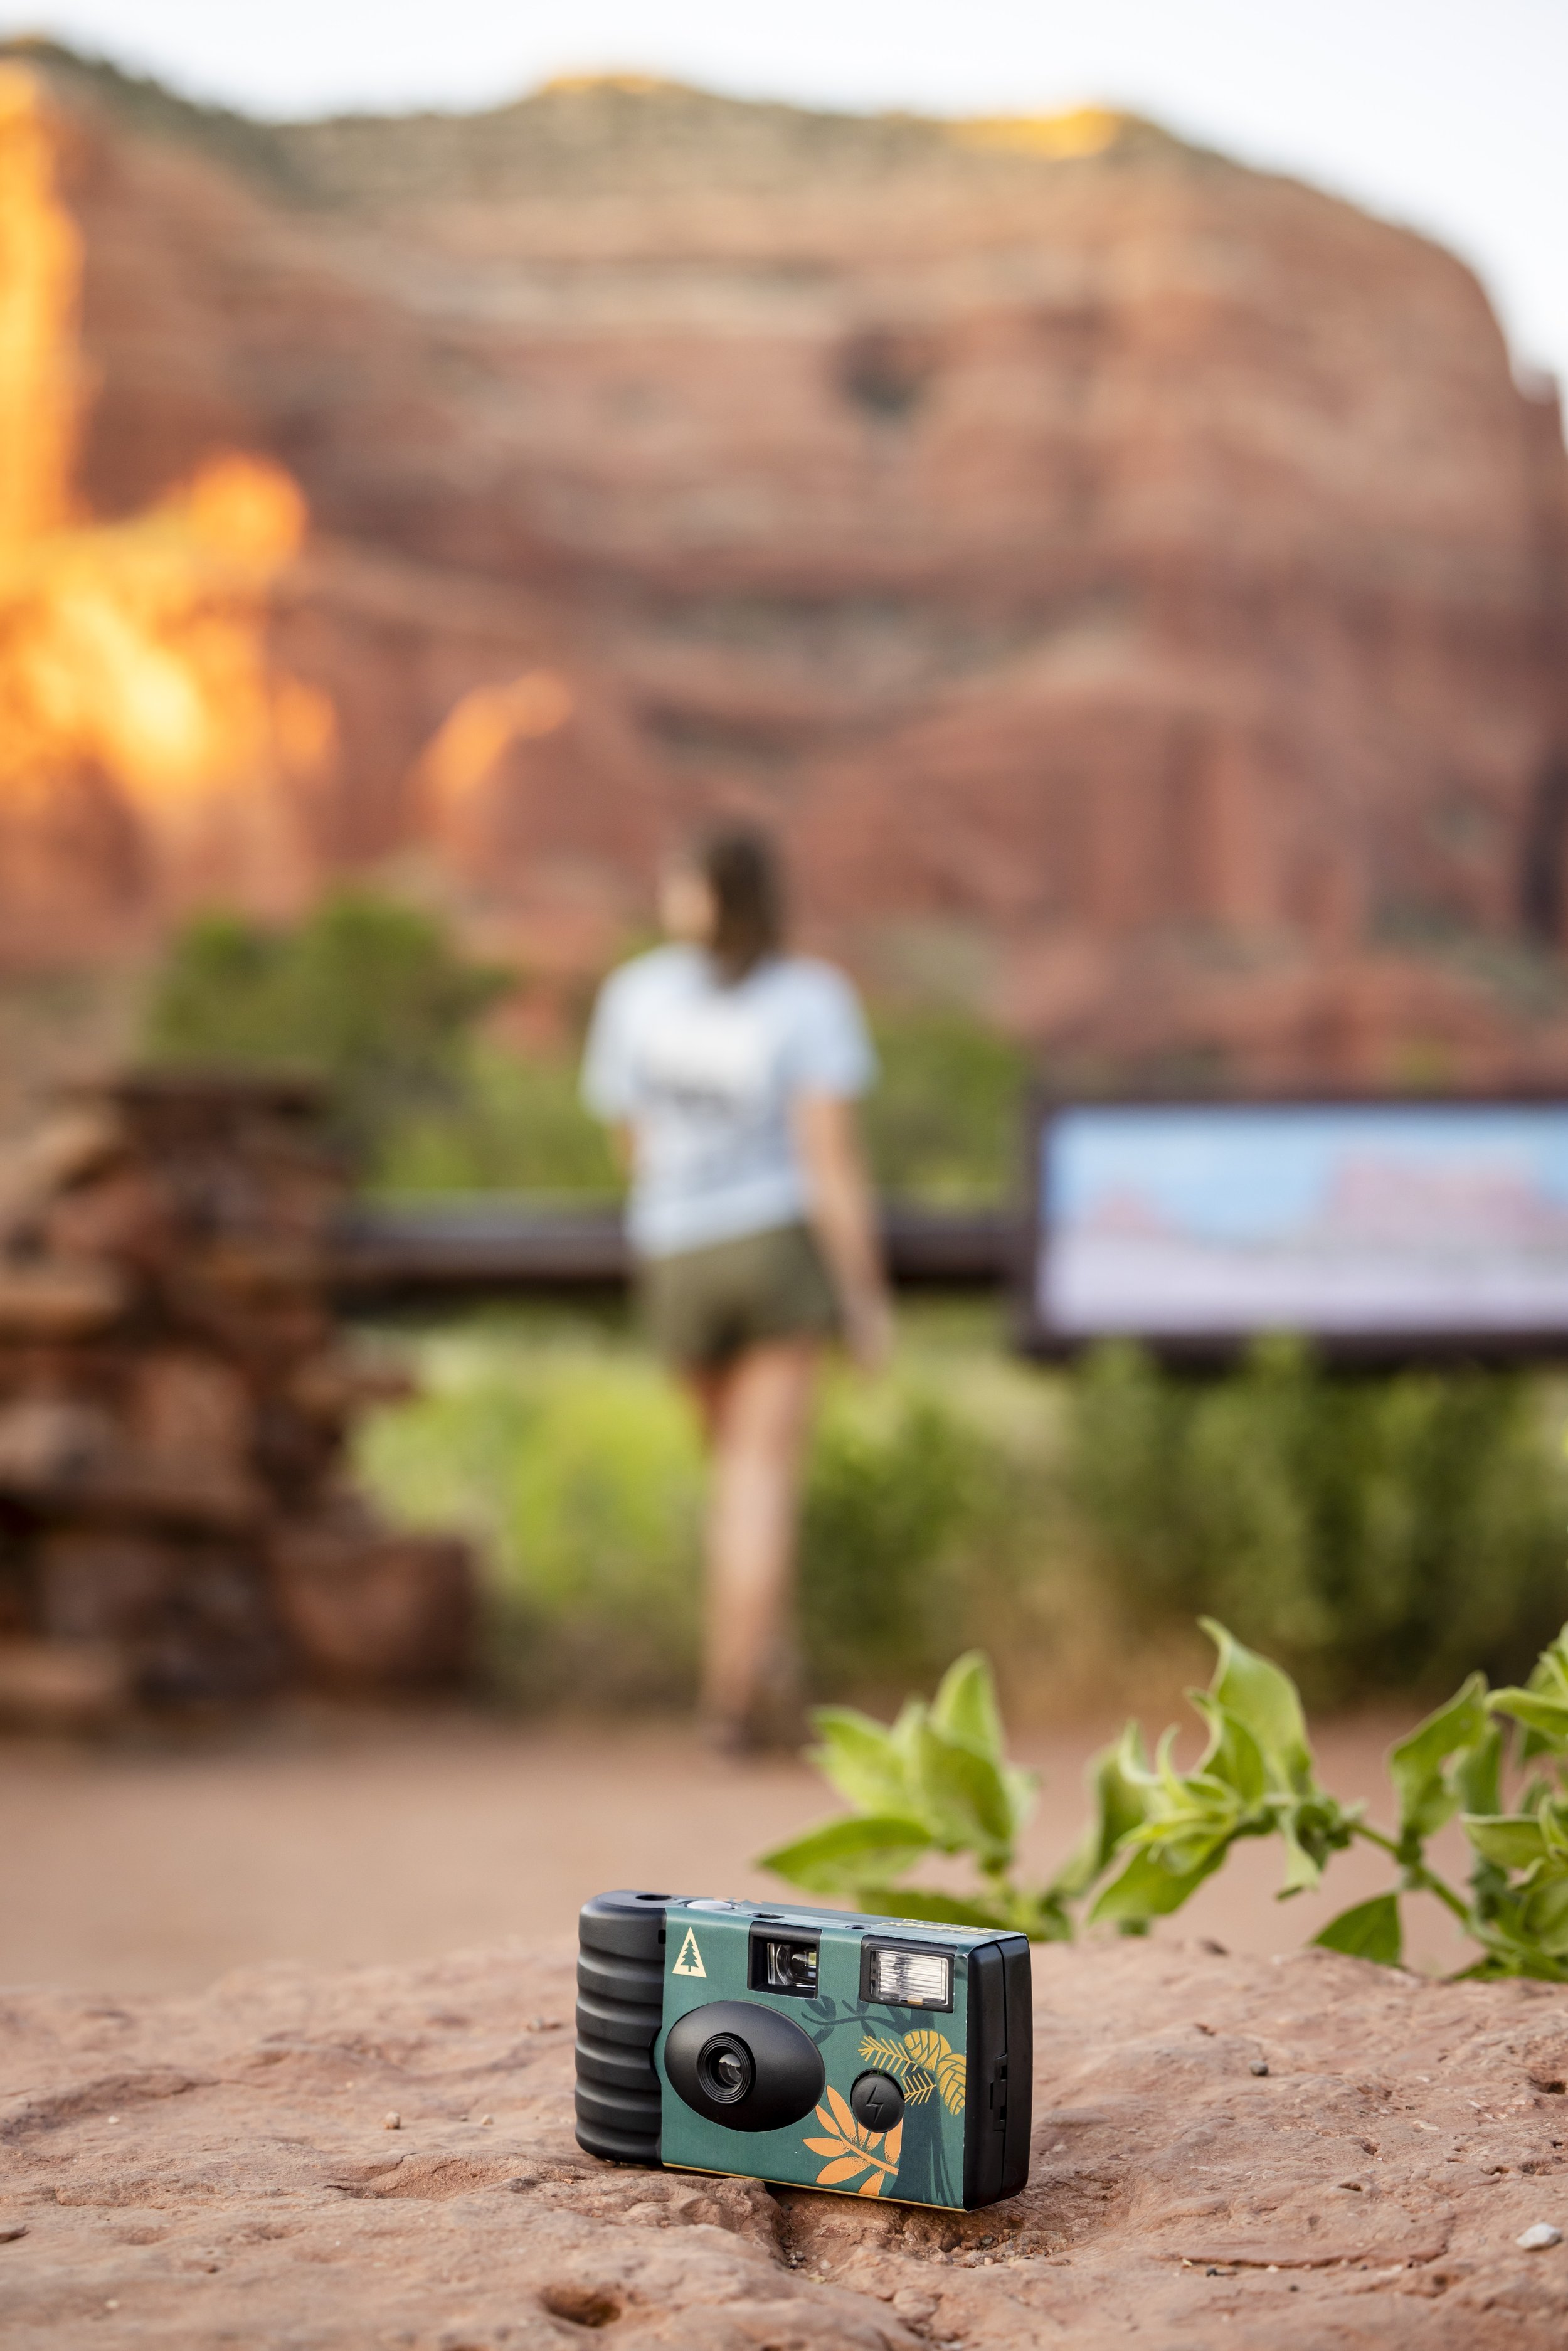
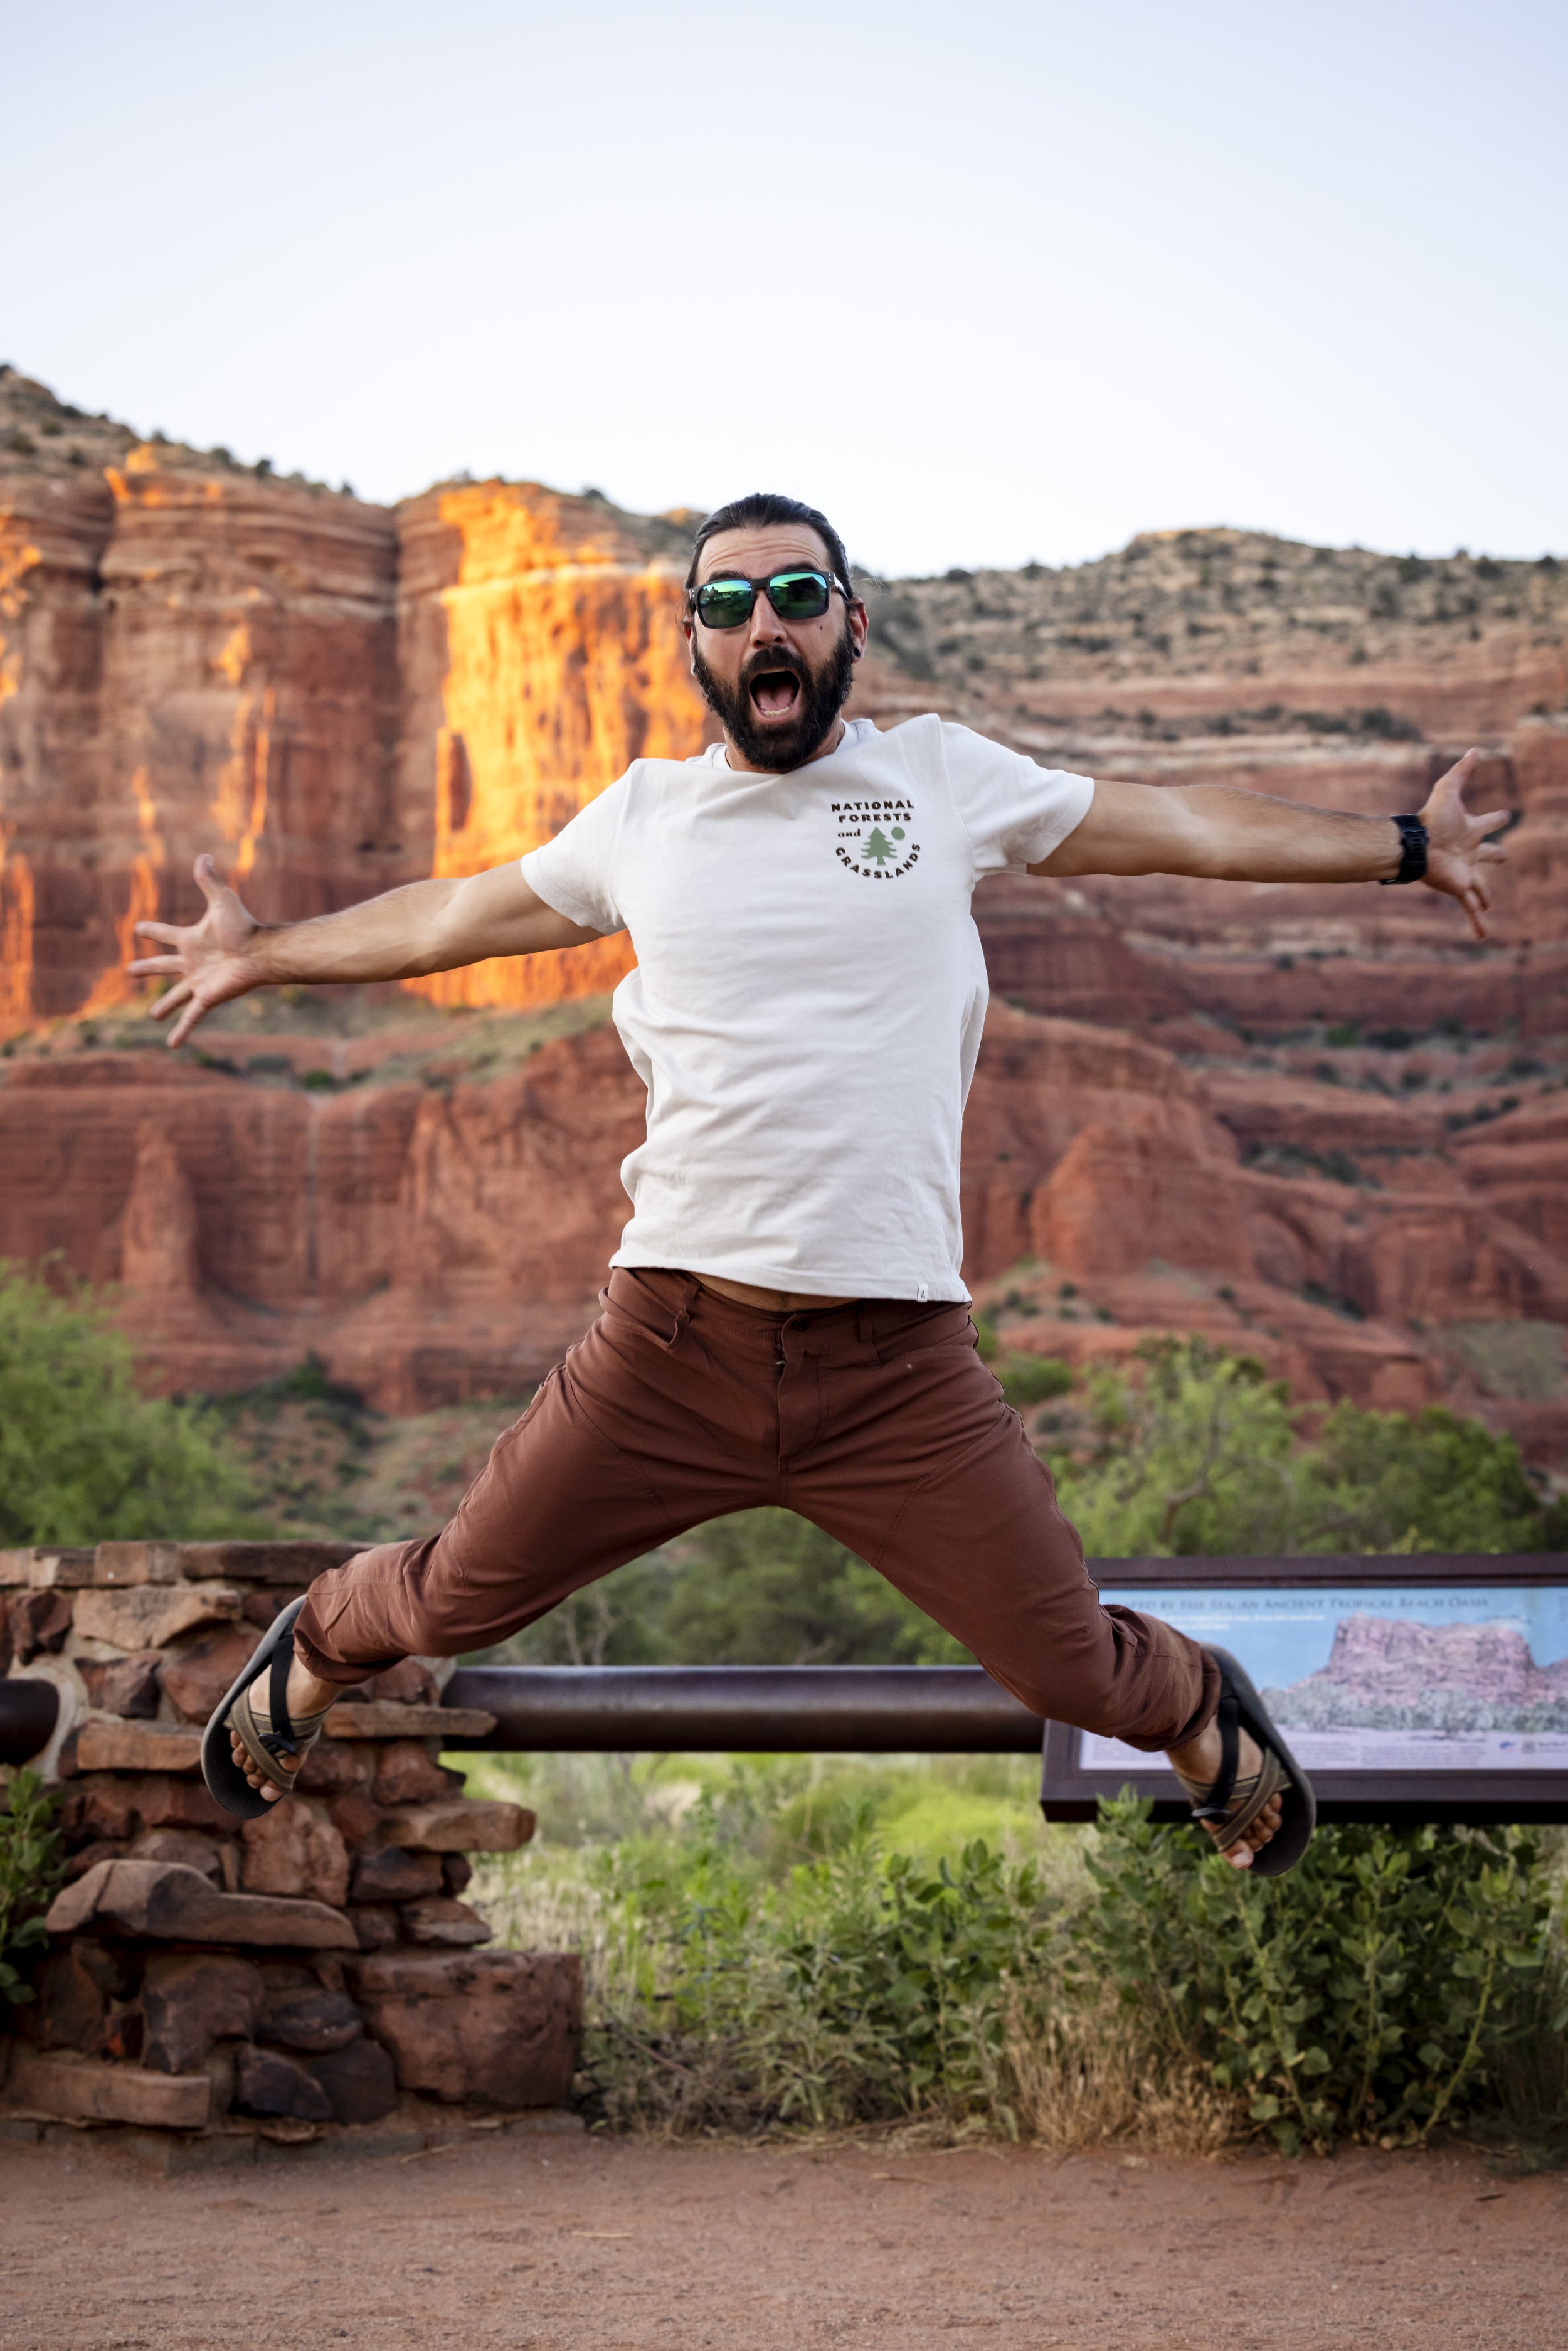
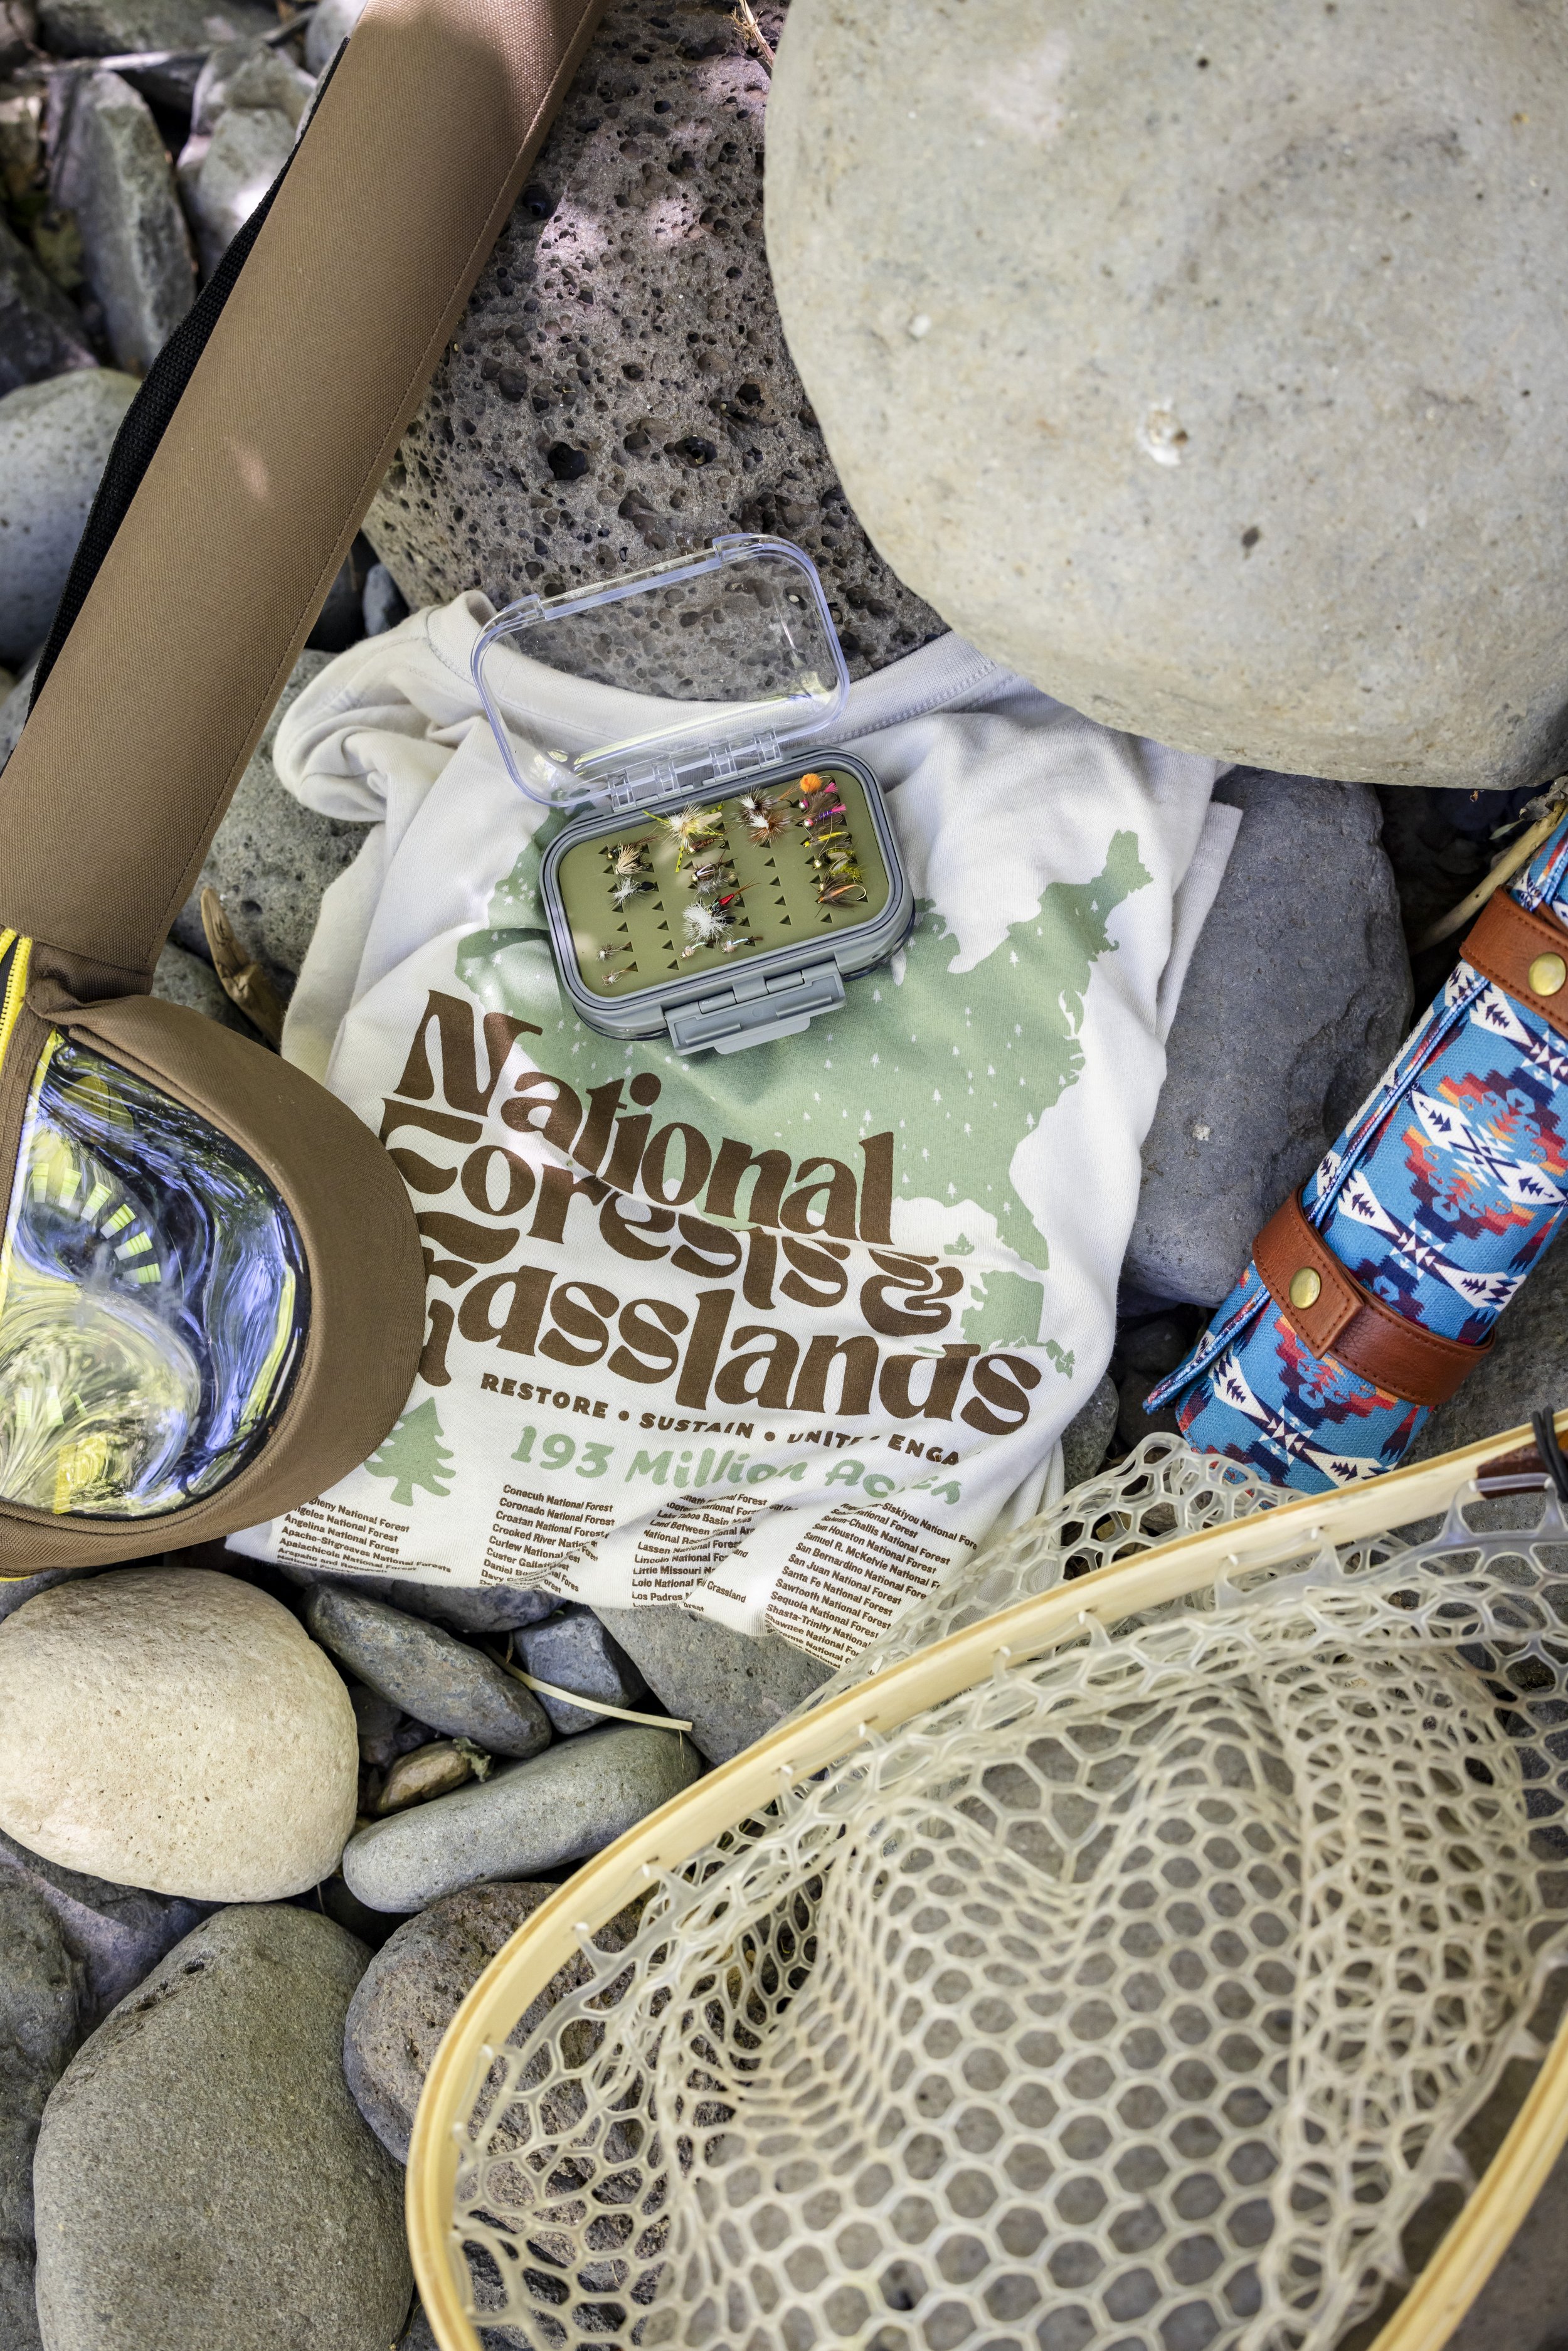
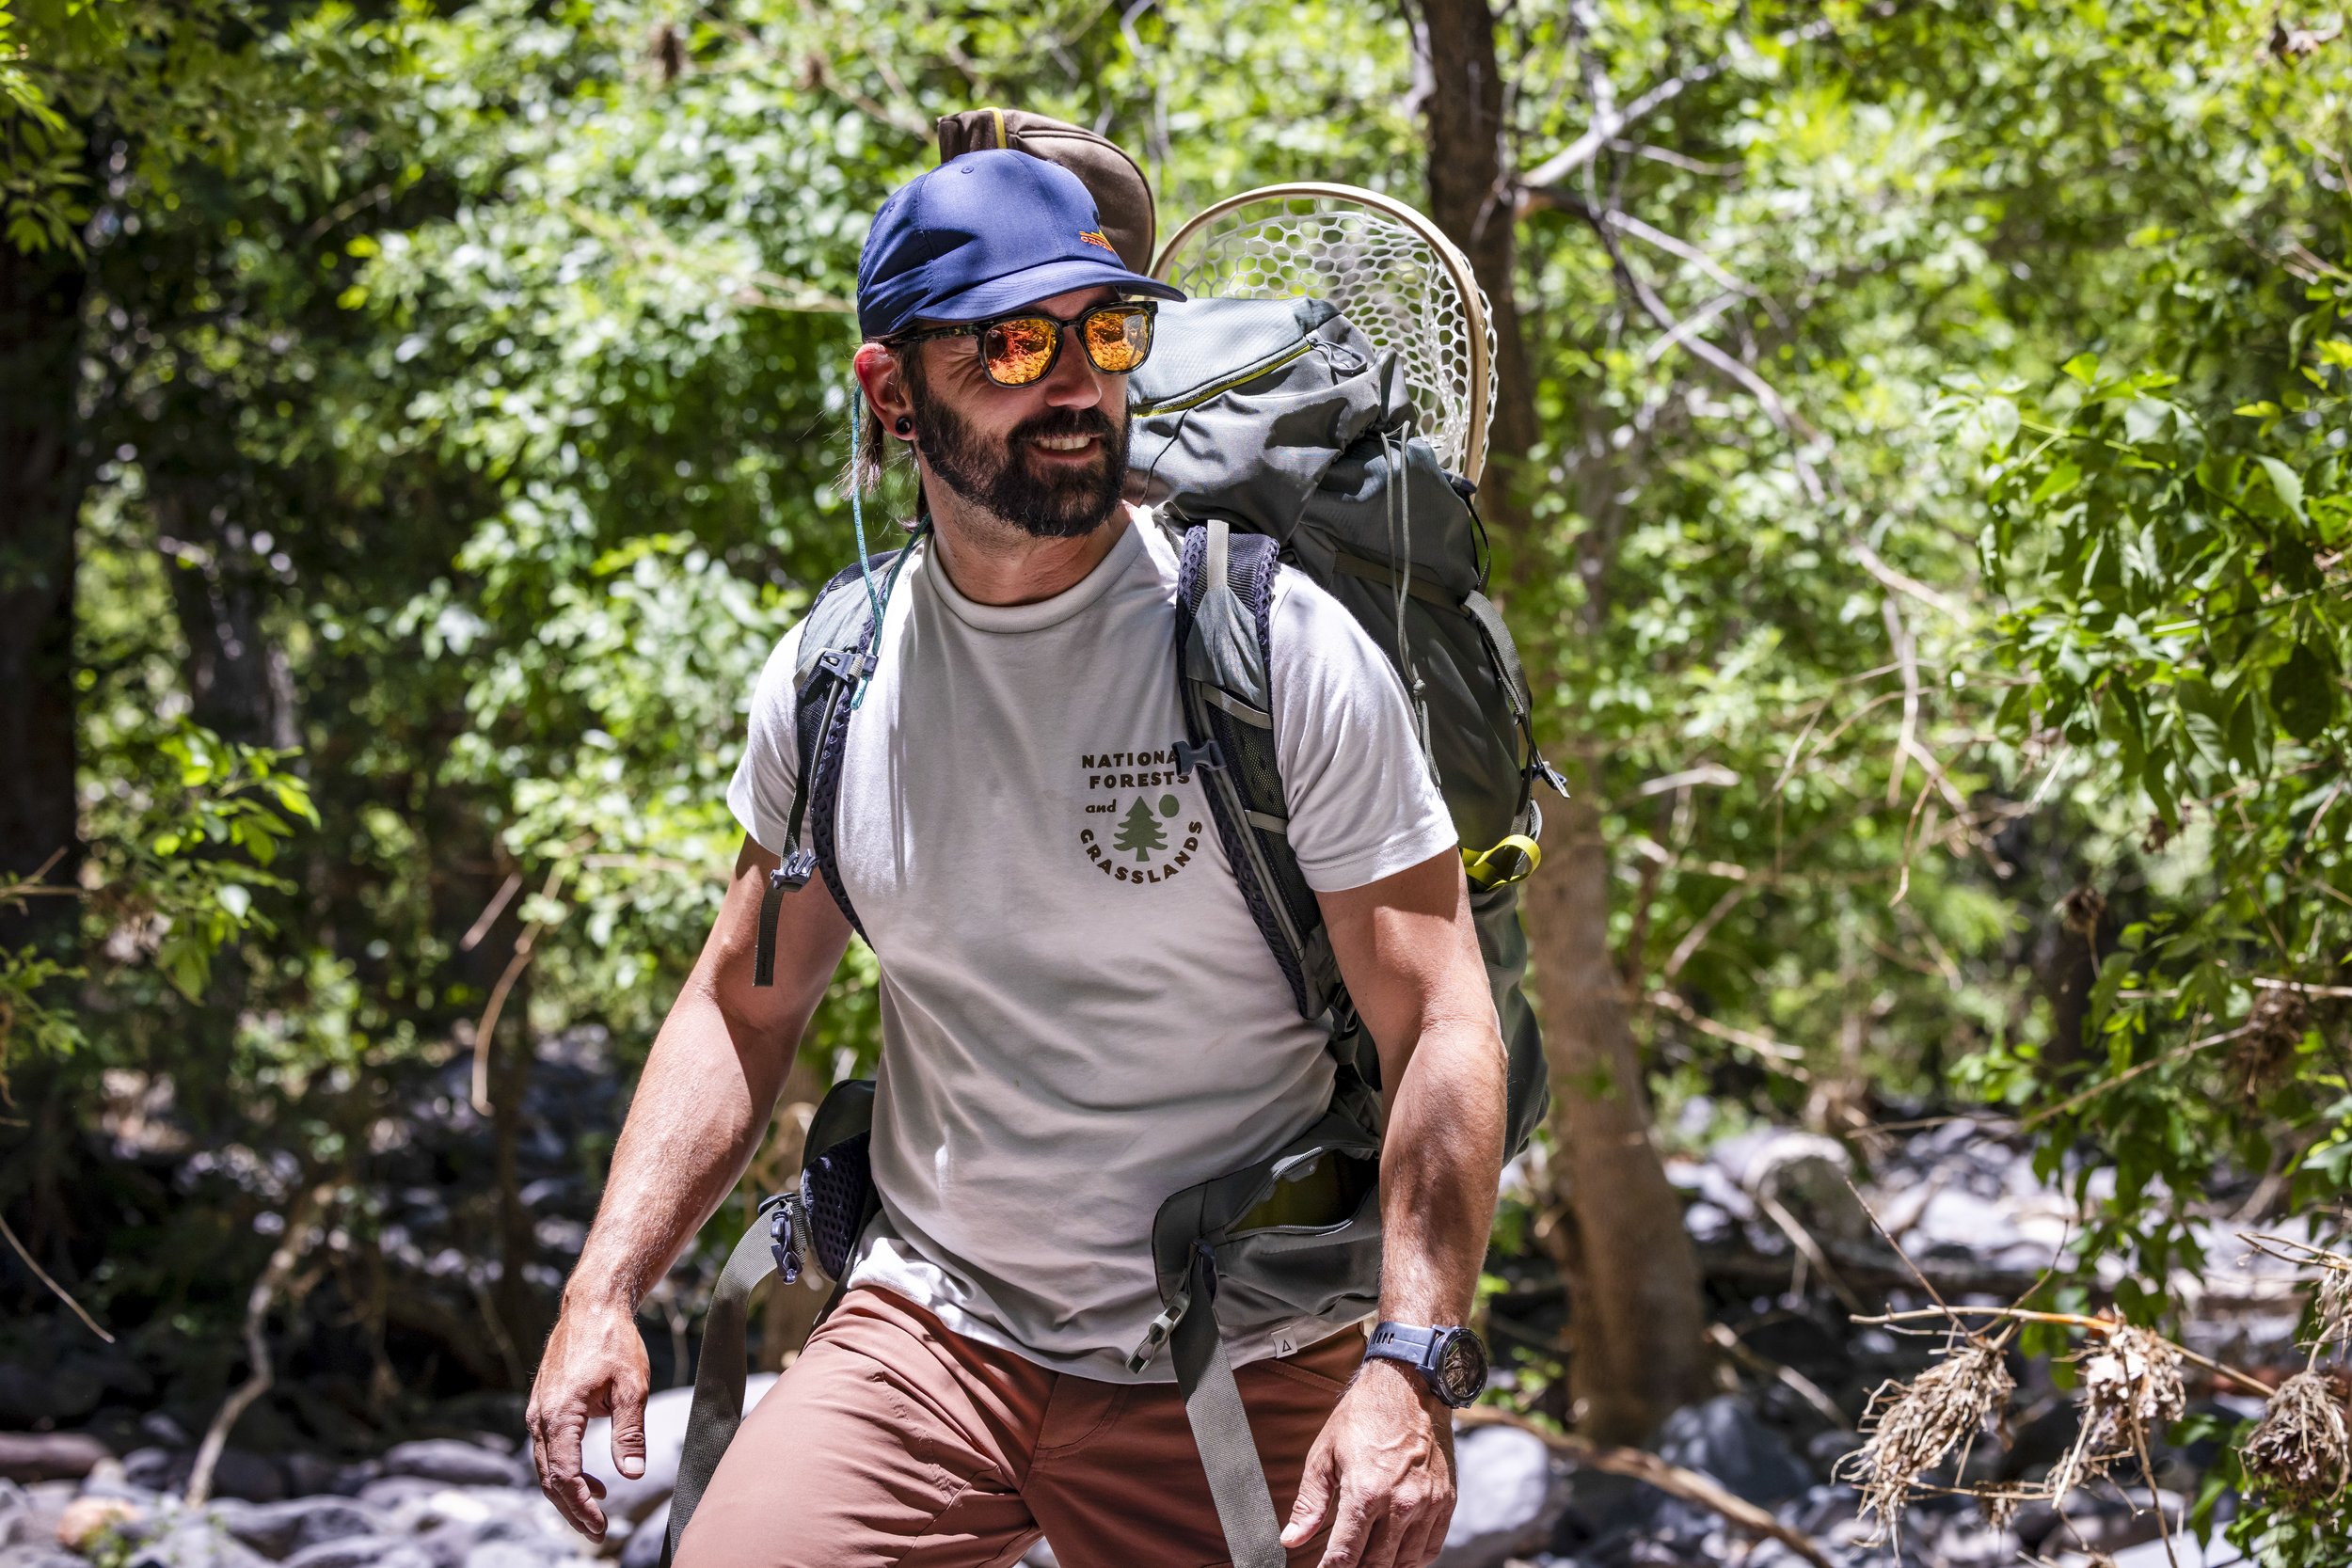
In celebration of National Forest Week, we were asked to help increase awareness of the National Forests and the National Forest Foundation by creating visuals of what our version of being in “Forest Mode” looks like. These photos were combined with footage that we shot and cut together by the Landmark Project team for a super fun social media campaign.
Capturing USC's Hub Coliseum In Photos & Video
Core Spaces tasked our team with creating photographs, videos, and social media content of the Hub Coliseum Student Housing Development at USC in Los Angeles, California. This content captured the architecture and lifestyle of the development.
ABOUT THE PROJECT
Core Spaces tasked my team to produce photographs, videos, and social media content for the Hub Coliseum Student Housing Development at the University of Southern California in Los Angeles. The assignment involved capturing both architectural and engaging lifestyle imagery and video content.
Client: Core Spaces
Project: HUB Coliseum
Photographer: Nicholas Tortajada + Kevin Kaminski
Date: Nov 2022
The Vibrant Arts Scene of Los Angeles Captured in a Photoshoot
The photoshoot for Core Spaces’ Hub Coliseum in Los Angeles, California was a vibrant, artistic experience that showcased the beauty and culture of this amazing city. We were able to capture the vibrancy of the arts in LA, from the unique and colorful personalities to the eclectic energy of the USC campus nearby. Through our photoshoot, we feel as though we truly captured the essence of the vibrant art and vibe of Los Angeles.
The location - USC and the Coliseum
We recently had the pleasure of photographing and filming the Hub Coliseum in Los Angeles, California. Located just steps away from the University of Southern California (USC) campus, the Hub Coliseum is an urban living experience that blends modern luxury with convenience.
This luxurious complex is located conveniently near the iconic Los Angeles Memorial Coliseum, a celebrated venue for athletic events, entertainment, and other large-scale happenings. Despite the energy of its vibrant surroundings, Hub Coliseum offers a tranquil retreat. It’s perfect for those seeking a respite from their busy lives while still enjoying all that Los Angeles has to offer.
By bringing this location to life through photography, we were able to truly capture the essence of the city of Los Angeles. The USC campus and the iconic Coliseum provided us with a backdrop to show off the vibrancy of the city, as well as the beauty of Hub Coliseum. It was amazing to be so close to two of the city’s most iconic landmarks and see how they influenced our photographs.
How we captured that in our photography
Our goal was to capture the vibrancy and arts of Los Angeles and the USC lifestyle in a single photoshoot. To do this, we utilized real students and residents of the HUB Coliseum. We wanted to be sure that we got an authentic portrayal of the city, so we gave our talent very loose directions to allow them to be themselves and have fun.
The result was a stunningly vibrant collection of photos and videos that showed off the beauty and diversity of Los Angeles and all the amenities the Hub has to offer. The colors were bright and vivid, and the people in the photos had a genuine sense of joy.
The amenities of Hub Coliseum
Hub Coliseum offers world-class amenities that provide a luxurious living experience. Its rooftop terrace is outfitted with an inviting pool and lounge area, perfect for hosting parties or enjoying some peace and quiet. The building also includes a state-of-the-art fitness center with a variety of exercise machines, classes, and other amenities to keep you in shape.
Each apartment within Hub Coliseum is designed with designer elements and high-tech solutions. This includes modern appliances and fixtures that make everyday life easier and more enjoyable. In addition, the property has a range of safety features and services, such as access control and 24/7 security cameras. All of this combined makes Hub Coliseum the perfect place to call home in the vibrant city of Los Angeles.
The final product
Our team was thrilled to have the opportunity to create a photoshoot for Core Spaces' Hub Coliseum in Los Angeles. We wanted to capture the vibrancy and culture of the city, and we believe we achieved that in our final product.
The USC campus served as the perfect backdrop for our photoshoot, as it is conveniently located near the Hub Coliseum. We were able to take advantage of the university's vibrant architecture and other features.
The Hub Coliseum has a variety of amenities to offer, from their 24/7 fitness center to the spacious outdoor lounge areas. We used these features to highlight the lifestyle aspect of living at the Hub, emphasizing how much life and fun can be experienced by living in this area.
The end result was an amazing photoshoot that Core Spaces was extremely happy with. Our images were able to portray the energy and culture of Los Angeles, while also highlighting the amenities that the Hub Coliseum offers. We are very proud of what we accomplished, and are excited to see what other projects may come our way in the future!
Cyber Monday Deals
A lot of these sales are TODAY ONLY or end today, so I wanted to get these all listed in one single spot to make it easy for everyone to browse through.
Sorry, I know. Just like you, my inbox is getting hammer-b-slammered with Black Monday/ Cyber Monday Deals. I'm not going to send you another one, but instead, just list out my favorite deals - most of which I am spending all my dang money on myself. In full transperancy, I am an affiliate with many of these brands and do receive a small commission on purchases. However, I only promote brands and products I actually use and support. Also, I am not an affiliate for some of these brands, such as Quadlock, but absolutely love their gear.
Gregory Backpacks - You get to double down on your savings here!!! Take 25% off select packs with code: THANKS and then get an additional 15% off using code NICK15. See promotion details for more information. Promotion ends 11/28. click here
Front Runner Outfitters - My entire rig is outfitted by FRO and it's the jammy jam. The have a ton of "Get a Free THING with a purchase of this THING" kind of deals going on. click here
My Camera Gear - I put together a list of every single piece of camera gear I use and dropped it into an Amazon Store. For the most part, Amazon has matched any BF/CM deals I have seen by the direct manufacturer. click here
Peak Design - I use their camera backpacks, camera cubes, and travel tripod plus some accessories. click here
REI Cyber Monday Deals - Most items are on sale through Dec 5, but a few deals are available TODAY only. Also, REI members also get an extra 25% off one Outlet item using the code OUTNOV22 - but this code ends TODAY (11/28). click here
Caldera + Lab - These products have made me adopt a self-care routine and I love it. I use the Regimen and the new eye serum. Save 30% Sitewide right now. click here
Aventon E-Bikes - Save $200 off all E-bikes. I have the Adventure Step-Through and it's a beast. click here
IMG_2516
buklak_gregory_3d_hydro_3l_reservoir_ii_optic_blue_1578478540_b438
cropped-H4A5065@0.25x_FRO.jpg
_H4A2097_ad_1
DSC05946_1-min
cropped-E50A9729-1_nemo_edit-scaled-1.jpg
Awesome Camera Gear Cyber Monday Deals 2022
I am sending this out now because many of these items are at their lowest prices you will ever see them out thanks to Black Friday and Cyber Monday Deals.
I have listed out every single piece of gear that goes into my camera bag on all of my adventures and you can find (most of) them all-in-one place at my Amazon Storefront. The Peak Design gear is best purchased directly from them using the links below.
(This post contains affiliate links. If you use these links to buy something we may earn a commission. Thanks!)

What’s in My Bag?!
Canon EOS R5 - The best body I have ever used for photo and video. For the professional image-maker who needs resolution, speed, and video capabilities.
Canon RF 70-200mm f2.8 - My absolute favorite lens. Canon's lightest and shortest 70-200mm f/2.8 lens ever.
Canon RF 24-70mm f2.8 - When I only get to take one lens, this is my go-to! A versatile wide-angle to portrait-length lens characterized by its bright, advanced, and intuitive design.
Canon EF 16-35mm f2.8 USM III - A workhorse wide-angle zoom and member of the well-regarded L-series of lenses.
Lowepro Whistler RL 400 AW II - A rugged rolling camera case that can comfortably and securely carry your mobile photo studio while meeting carry-on requirements for most international and US airlines.
The Peak Design Everyday 20L Bag - An iconic, award-winning pack for everyday and photo carry, the newly revamped Everyday Backpack is built around access, organization, expansion, and protection.
Peak Design Travel Backpack 45L - A rugged, expandable, and brilliantly accessible carry-on travel backpack driven by a simple truth: no two trips are the same.
Peak Design Small Camera Cube - Ultra-protective yet easily accessible, Peak Design Camera Cubes take the pain and hassle out of traveling with photo, video, or drone gear
Peak Design Medium Camera Cube - Same as above - just bigger
Manfrotto Carbon Fiber 4-Section Tripod – A load capacity of 19.8 lb and extends from 3.5" to 66.9"
Arca Swiss D4 Geared Tripod Head – Love the small footprint and ultra smooth and precise features. Combines the advantages of a spherical head and a 3D tilt head in one compact system
Peak Design Carbon Fiber Travel Tripod – Radically faster to setup and takedown, our tripod features ergonomic adjustment points, built-in mobile compatibility, and thoughtful details at every turn
DJI Mavic Pro 2 Fly More Combo – Not the newest or smallest but an absolute workhorse with amazing results.
Apple iPad Pro – I use this to view the Camranger Miniwhen on -site but also for big screen viewing on the plane!
GoPro Hero 10 Black – I usually have a GoPro within arms reach at all times. They are truly the most versatile action camera on the market.
SmallRig Super Camera Clamp Mount - This thing is so cool It can grab onto anything you need it to. I fix my Quadlock iPhone tripod attachment and use this to film most of my reels.
Quadlock iPhone Case and Mount - I have the entire setup - cycling, motorcycle, phone, car - it’s the jam.
URTH 82mm Filter Set – I love their innovative storage solution. It helps me to keep my filters clean and free of scratches.
CamRanger Mini – I couldn’t do my hotel shoots without using a CamRanger. Especially when working with an outside creative director or stylist.
Lume Cube LED Panel – Smaller than my phone, this light packs a punch and is such an amazing tool to pop some light onto your subject. Especially in tighter compositions such as f&B.
Godox AD200 Pro with Trigger – Love these flashes. The recycle period is quick enough to use for lifestyle and they throw out a ton of light.
SmallRig Black Mamba Cage for R5 with top handle – I use this for my handheld video work and it’s rock solid.
5-in1 48-inch Neewer Reflector Kit - Just straight up a necessity in any photographer’s kit. Always a use for a reflector or scrim.
My camera gear closet is always growing as I am constantly switching out or testing new gear. But that's part of being a creative - pushing the boundaries - finding new angles. Maybe you can relate. How do you define photography or the art of what it is that we do? For my answer, check out So What The F*ck is Photography Anyway?
What is Shutter Speed and How to Use it Like a Boss
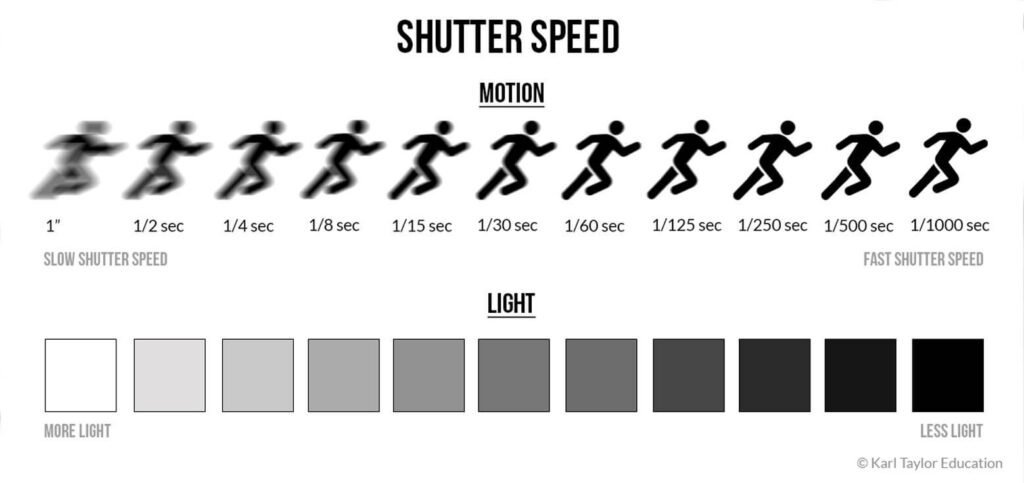
Shutter speed is mainly responsible for 2 things: changing the brightness of your photo and freezing action or blurring motion.
Let's talk about shutter speed, shall we?
You know that button you press to actually take a picture? It's called the Shutter Button, or shutter release. Want to know why? Because it controls the shutter, and what tf does that actually mean? Let's get into it.
First, let's talk about what and where the shutter is. Think of it like a curtain, a blackout curtain, that sits in front of the camera's sensor. In order for light to hit the sensor and produce photo magic, the shutter has to open. How long that "curtain" is open is called Shutter Speed. The longer it is open, the more light hits the sensor. We will talk about what this does to your final image in a bit.
How Does Shutter Speed Affect my Image?
Shutter speed is responsible for two particular things: changing the brightness of your photo and creating dramatic effects by either freezing action or blurring motion. When you use a long shutter speed (also known as a “slow” shutter speed), you end up exposing your sensor for a significant period of time.
A slow shutter speed will create motion blur when dealing with a moving subject. Think about car advertisements, where a sense of speed and motion is communicated to the viewer by intentionally blurring the moving wheels or how the background seems to be whizzing by. This is also how to create those beautiful "milky" moving water photos. Slow that shutter down.
Check out the 2 images below:
In the first image, the motion blur of the foreground and background gives you (the viewer) a sense of fast motion. This is using a slow shutter while moving the camera along with the rider.
In the second Image, the rider is frozen in action because a fast shutter was used.
Slow Shutter Speed = Motion Blur
Slow Shutter Speed = Motion Blur
Fast Shutter Speed = Frozen Action
Fast Shutter Speed = Frozen Action
Slowing down the shutter is also necessary to shoot in dim or dark environments such as photographing the Milky Way. Keeping the shutter open will allow the sensor to soak up as much light as possible. An example: throw your camera on a tripod, slap a 2 second timer on to minimize camera shake, and set the shutter to 30 seconds to create something like the photo below.
Milky Way Photographed using a slow shutter speed
Shutter Speed and Exposure
Shutter speed also affects the overall exposure of an image. A long shutter allows your camera sensor to gather a lot of light, and the resulting photo will be quite bright. A quick shutter speed means your camera sensor is only exposed to a small fraction of light, resulting in a darker photo.
Keep in mind that Shutter speed is only 1 of the 4 elements to consider when it comes to proper exposure. There is Aperture, ISO, and the brightness of what you are photographing. Unless you're in a studio, you can't do much to control the light of the environment, but you can control your camera settings. Photography is the art of understanding how to set these properly to achieve the image you want.
Take Me To Chapter 4: Let's Break Down What Aperture Is, ya?
Photography Basics Organization
(This will be filled in with links as I produce them) - Stay Tuned!!
Chapter 1:How Do I Use This F*cking Camera?!
Chapter 2:So What The F*ck is Photography Anyway??
Chapter 3:What is Shutter Speed and How to Use it Like a Boss (You are here)
Chapter 4: Let's Break Down What Aperture Is, ya?
Chapter 5: ISO
Chapter 6: Composition
Chapter 7: Metering
Chapter 8: Camera Modes
Chapter 9: Focusing
Chapter 10: Flash
Chapter 11: Camera Settings
Chapter 12: How to Take Sharp Pictures
Chapter 13: Photography Tips for Beginners
Chapter 14: Photography Ideas
So What The F*ck is Photography Anyway?
Photography is the art of capturing light with a camera. Snoozefest. It's art. It's creating and capturing. It is whatever you want it to be.
Let's go with the boring definition first: Photography is the art of capturing light with a camera, usually via a digital sensor or film, to create an image. Snoozefest. It's art, man. It's creating and capturing. It is whatever it is you want it to be. Biyatch, don't kill my vibe. That's what it is.
Photography can tell a story, it can capture a moment in time, it can document, and it can be art. There are many technical uses for photography as well as social and creative ones. How we capture and how we consume photos changes almost daily which keeps it fresh and exciting!
Do I need a Fancy Camera?
Let's start with this: the gear doesn't make the photographer. Do certain features found on pro or prosumer-level cameras help to enhance a photo? Yup. Is it necessary? Nope. Can you take a bomb-ass shot with your iPhone - Oh heck yes! Your eye is more important than the camera used.
I admit, I actually enjoy pissing people off when they ask me - what's the best camera? My reply? The one you have on you when you need it. It's just the truth. Most times that ends up being my iPhone, or my GoPro (anyone say Haboob?).
So what am I getting at? If you know what to look for when taking in a view, or composing a photo, the camera you use doesn't matter all that much - not until you are getting into professional usage for your photos. Then the resolution, depth of field, sharpness, etc come into play. We will get there - keep following along.
Basic Camera Gear
What are the Bare Necessities for Photography?
Now we are stepping away from your phones for this one and leveling up. We will start with the big 3 and then check out the optional accessories.
Camera. Pick one with interchangeable lenses so that you can try out different types of photography more easily. Read reviews, but don’t obsess over them. Trust me, you will spend way too much of your hard-earned money on photography gear over the years. At least do yourself a favor, and save yourself from the stress. Pick a reputable brand, look around on Facebook or OfferUp and jump in. You can always upgrade later.
What do I use? My main camera body is the Canon EOS R5 and I absolutely love everything about it. It is incredibly feature-rich, has great ergonomics, super dependable, and checks all of my boxes as a professional shooter that needs to dabble in almost every type of photography out there. I use the Canon EOS R as my backup - the one I take backpacking because it is 1/2 the price and much lighter. For beginners, I would recommend maybe looking into the Canon EOS RP.
Lenses. For everyday photography, start with a standard zoom lens like a 24-70mm or 18-55mm. For portrait photography, pick a prime lens (one that doesn’t zoom) at 35mm, 50mm, or 85mm. For sports, go with a telephoto lens. For macro photography, get a dedicated macro lens. And so on. Lenses matter more than any other piece of equipment because they determine what photos you can take in the first place. If you want to start with one, I would recommend a 24-70mm to give you a great range to play with.
Post-Production Editing Software. It's my least favorite part, but it is part of the art. Adobe sells Lightroom and Photoshop as a bundle for $10/month, or you can buy standalone software from another company if you prefer; there are tons of options. Whatever you pick, stick with it for a while, and you’ll learn it quite well. This is where Youtube will be your best friend. Please, please, please don't start with Presets. Learn how to edit first, and then dabble with presets. Otherwise, you're robbing yourself of learning the basics and understanding what you are actually doing in the software.
Photography is the art of capturing light with a camera. Snoozefest. It's art. It's creating and capturing. It is whatever you want it to be.
Let's Call These Items Optional, Though We Know You're Going to Get it All!!
A tripod. A landscape photographer’s best friend.
Best Travel Tripod: Peak Design CF Travel Tripod
Best All Around Heavy Duty - Manfrotto MT055CXPRO4 055 Carbon Fiber 4-Section Tripod
Bags. Get a shoulder bag for street photography, a rolling bag for studio photography, a technical hiking backpack for landscape photography, and so on.
Best Backpack: Peak Design Everyday Backpack
Memory cards. Choose something in the 64-128 GB range to start. Get a fast card (measured in MB/second) if you shoot bursts of photos since your camera’s memory will clear faster.
Extra batteries. Get at least one spare battery to start, preferably two. I would NOT recommend off-brand batteries, even though they are usually way cheaper. In my experience, they don't last as long or maintain compatibility with future cameras and can actually damage your body.
Polarizing filter. This is a big one, especially for landscape photographers. Don’t get a cheap polarizer or it will harm your image quality.
My favorite: B + W Circular Polarizer Kaesemann - Xtra Slim Mount
Flash. Flashes can be expensive, and you might need to buy a separate transmitter and receiver if you want to use your flash off-camera. But for genres like portrait photography or macro photography, they’re indispensable.
My Favorite: GODOX AD200 Pro
Cleaning kit. The top item is a microfiber cloth to keep the front of your lens clean. Also, get a rocket blower to remove dust from your camera sensor more easily.
Other equipment. There are countless other photography accessories available, from remote shutter releases to GPS attachments, printers, and more. Don’t worry about these at first; you’ll realize over time if you need one.
What is Shutter Speed and How to Use it Like a Boss
Photography Basics Organization
(This will be filled in with links as I produce them) - Stay Tuned!!
Chapter 1:How Do I Use This F*cking Camera?
Chapter 2: So What The F*ck is Photography Anyway? (You are here)
Chapter 3: What is Shutter Speed and How to Use it Like a Boss
Chapter 4: Aperture
Chapter 5: ISO
Chapter 6: Composition
Chapter 7: Metering
Chapter 8: Camera Modes
Chapter 9: Focusing
Chapter 10: Flash
Chapter 11: Camera Settings
Chapter 12: How to Take Sharp Pictures
Chapter 13: Photography Tips for Beginners
Chapter 14: Photography Ideas
How Do I Use This F*cking Camera?
A step-by-step guide to using your camera like a boss. How can I take better photos? What settings should I use? And more Photography Basics!
Where to Begin
Treat this Photography Basics Series like a book. It is best to read it from start to end because each chapter builds on prior chapters. However, if you want to jump to something more specific, you’re welcome to skip ahead to a later chapter. Here is the overall organization of the guide:
Photography Basics by Chapter:
(This will be filled in with links as I produce them) - Stay Tuned!!
- Chapter 1: How Do I Use This F*cking Camera? (You are here)
- Chapter 2: So What The F*ck is Photography Anyway?
- Chapter 3: What is Shutter Speed and How to Use it Like a Boss
- Chapter 4: Aperture
- Chapter 5: ISO
- Chapter 6: Composition
- Chapter 7: Metering
- Chapter 8: Camera Modes
- Chapter 9: Focusing
- Chapter 10: Flash
- Chapter 11: Camera Settings
- Chapter 12: How to Take Sharp Pictures
- Chapter 13: Photography Tips for Beginners
- Chapter 14: Photography Ideas

Why I Wrote This
It's the set of questions I get asked all of the time. How can I take better photos? What settings should I have my camera on? Do I have to shoot in Manual Mode?
I have been a professional photographer for 15 years now. I have photographed in almost any imaginable scenario, climate, and circumstance forcing me to learn most of what I know on the fly. I admit, that most of my learning came through making mistakes. I hope this guide will allow others to learn from my mistakes and skip right past that painful part of the learning process.
Let me also say that I am writing in this in a fashion that makes the most sense to me. I’m going to give examples about how I personally understand camera settings, lighting, posing and all the good things that encompass photography. Most of my examples will focus on the type of work I do - adventure, lifestyle, product, editorial, etc. however all of the ideas and principles that I share can be applied to any type of photography.
Let me say this: Youtube University is an insanely great asset to use to learn all about photography. However, I would highly suggest having a rock-solid understanding of the basics before blindly following along. Once you have the basics dialed in, have at it on YT.
8 Useful Tips to Improve Your Travel Photography
Looking to improve your travel photography? I’ve spent 10-years shooting photos from destinations around the world. Here are my 8 favorite travel photography tips for beginners.
Ready to Step up Your Travel Photography?
Looking to improve your travel photography? I’ve spent 10-years shooting photos from destinations around the world.
Here are my 8 favorite travel photography tips for beginners.

Wake up Early (like, super early)
The early bird gets the worm. How does this apply to travel photography? The most fundamental element of great photography is light, and soft, warm morning light produces stunning photos.
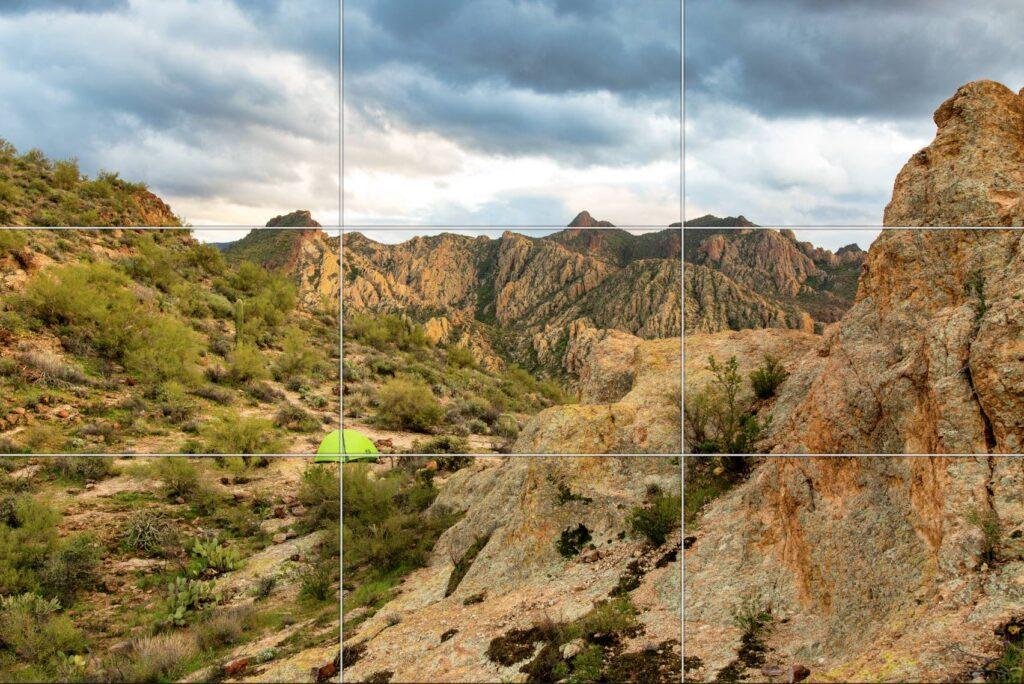
Rule of Thirds
This is a general rule of thumb to follow - don't go crazy trying to make it exact or work for every shot. It is more like something that you practice and think about when shooting so it starts to come naturally.
The gist of it is this: Place your points of interest where the lines intersect. In the example above, I placed my tent (the main subject) directly on the bottom-left intersection. The horizon line lines up with the grid lines as well.
Turning on your camera's "grid" feature will display a grid directly on your LCD screen making it simple to compose using the Rule of Thirds. This works on your phone as well!
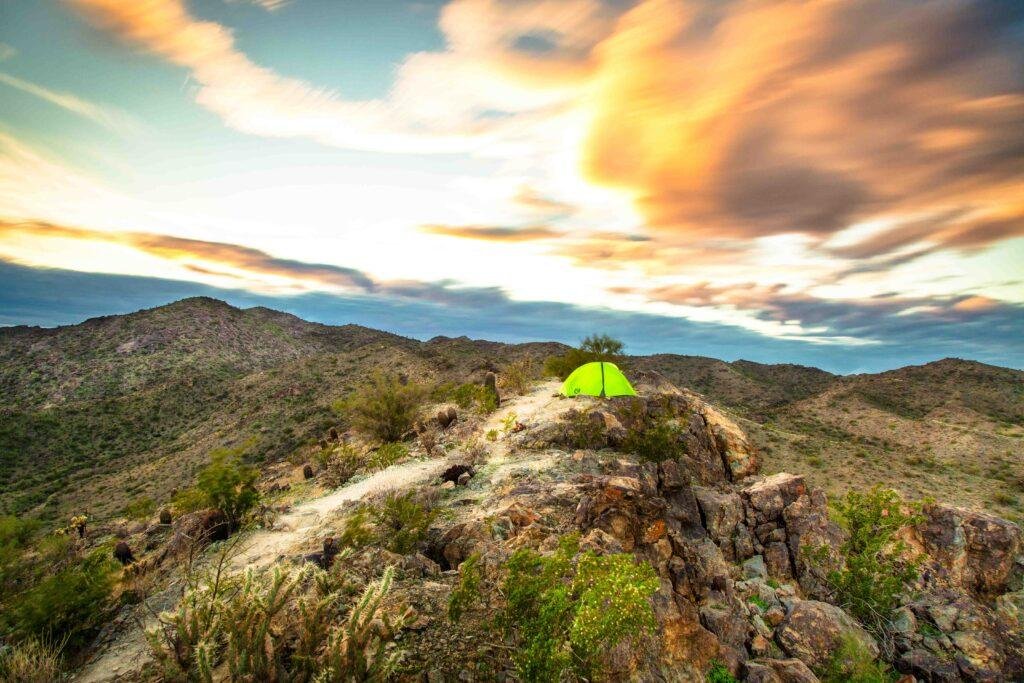
Use A Tripod for Travel Photography
Tripods allow you to shoot at much slower shutter speeds (waterfalls, low-light, stars, and so on) without having to worry about camera shake. For adventure and traveling, I use the Peak Design Carbon Fiber Travel Tripod.
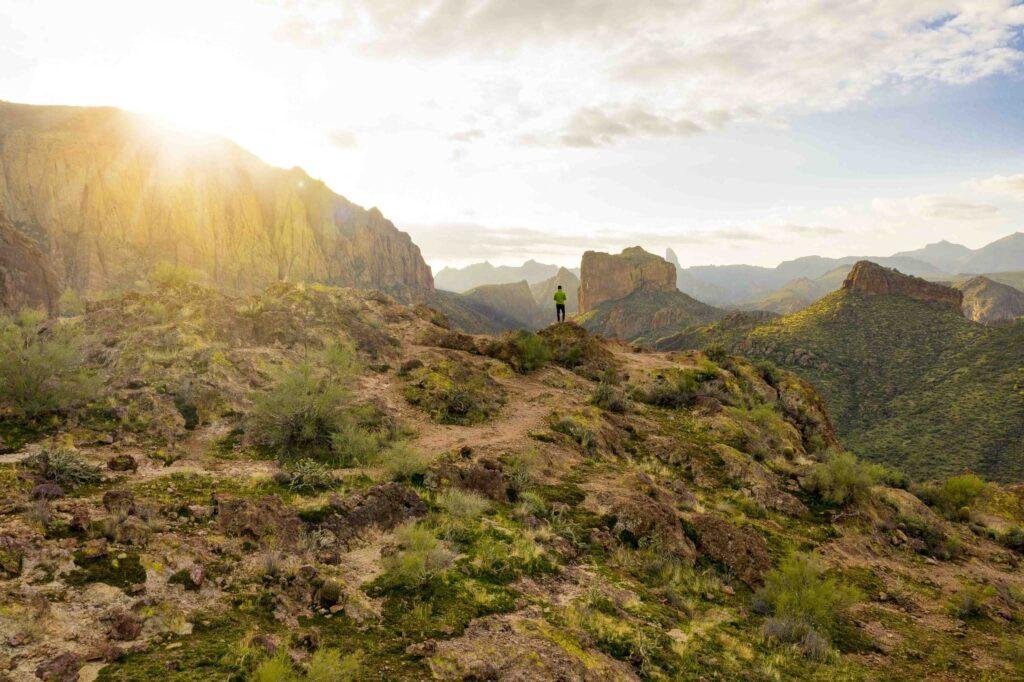
Use Some Human Element
A better sense of scale is also created by using a human element. You can get a better feel of how big those mountains are by placing your subject in the distance or using a wide-angle lens.

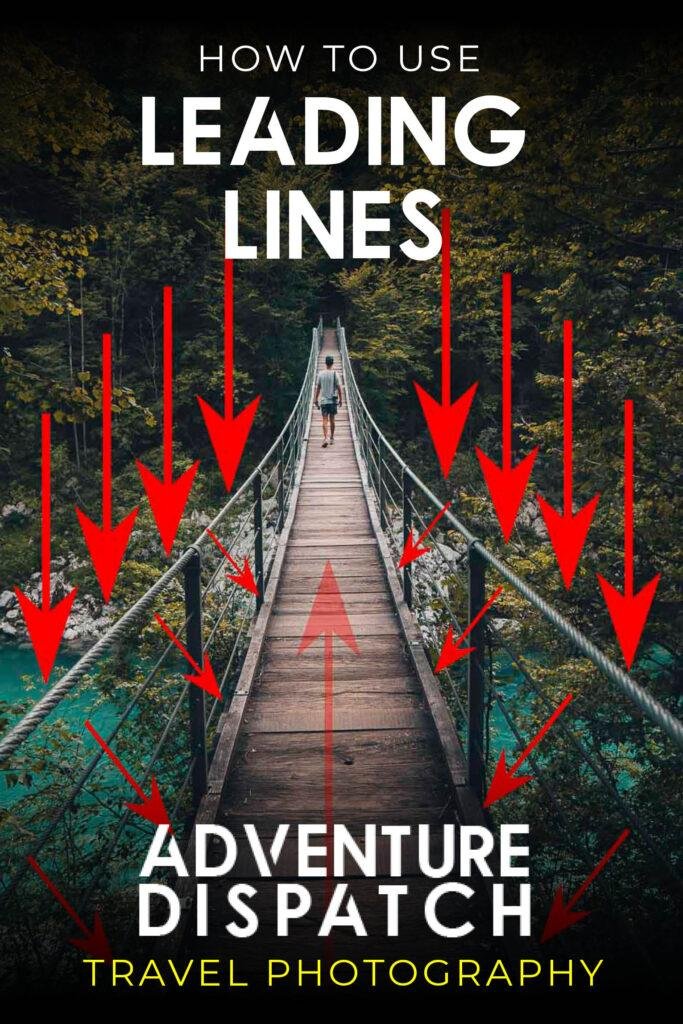
Use Leading Lines
Basically, you're trying to direct people further into your photo by using the land, objects, or other elements to take them to the main subjects. Roads, rivers, hiking paths, alleyways, and mountain ridges are all great examples of leading lines.

Ask the Locals
Don't be shy, but always be respectful and polite. Make friends with locals or do some research before your trip to seek out off-the-beaten path locations.
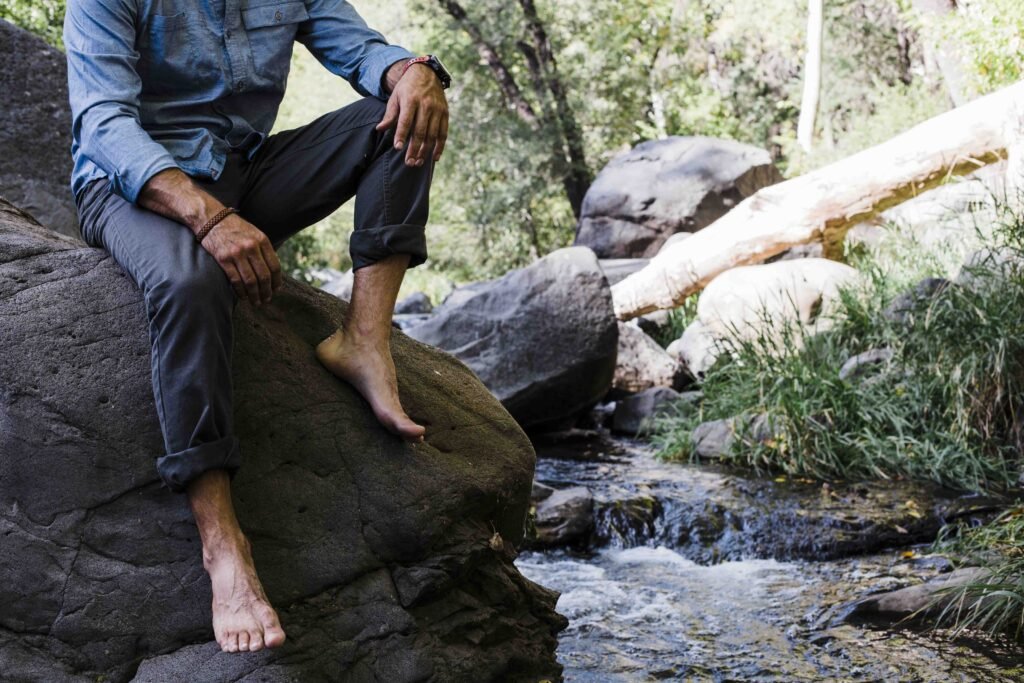
Mixing It Up
Always keep learning. Try different lenses, different poses, play with your composition or test ND filters. Maybe try to shoot an epic timelapse. Stay Fresh!
Travel Photography - Listen. Learn. Share
Take notes, take courses, make friends with people who are doing what you would like to be doing. Absorb what you can. Put yourself out there and just keep at it.
How to Take Long Exposure Photos of Waterfalls And Water
Tutorial: How to Take Long Exposure Photos of Waterfalls And Water. Super simple breakdown for anyone looking to learn how.
How to Shoot Long Exposure Water Photos
Long Exposure Photography might have an impact on the viewers similar to magic, but trust me, it is not. Cascading water is exciting to watch and photograph. Raging rivers also make beautiful photographs. Surging white water rapids, briny mist, and cascading spray are all the elements you need for a great picture.
Here are 8 tips to consider when photographing water in motion:
1 - Use a shutter speed of 1/15 of a second or slower. A slow shutter speed renders moving water as a silky white blur. Using an ND filter can help slow down the shutter speed.
2 - Use a low ISO setting. A low ISO setting gives you a relatively small aperture, which ensures a large depth of field.

3 - Use a tripod. When you use a slow shutter speed, stabilize the camera to get a sharp picture. Having a solid travel tripod is a must.
4 - Use a neutral density filter in bright light. In bright light, you won’t be able to use a slow shutter speed and get a properly exposed image. A neutral density filter cuts down on the amount of light reaching the sensor, which means you can get a properly exposed image using a slow shutter speed.If you use neutral density filters on a regular basis, consider purchasing a variable neutral density filter. This is actually two filters in one. You rotate the outer ring to dial in the strength of the filter.
5 - Use a fast shutter speed when you want to freeze the motion of a raging river. You can also use a fast shutter speed when you want to show the details of a waterfall. You may have to increase the ISO setting when using a fast shutter speed to achieve a large depth of field, which requires a small aperture. Don’t increase the ISO too high or you’ll end up with a noisy image; use a tripod instead.
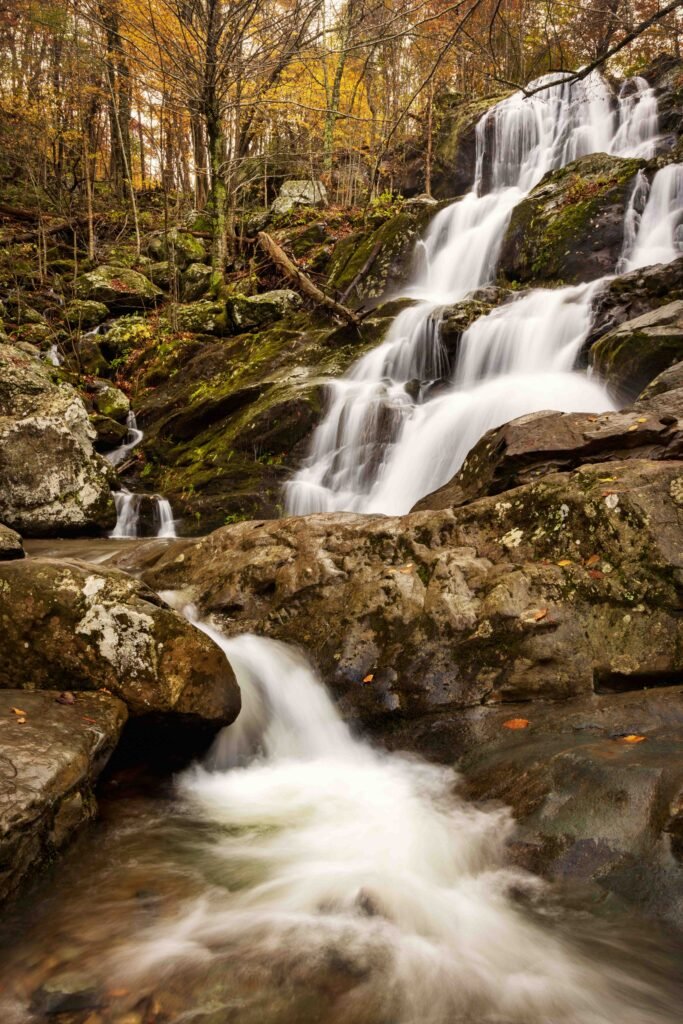
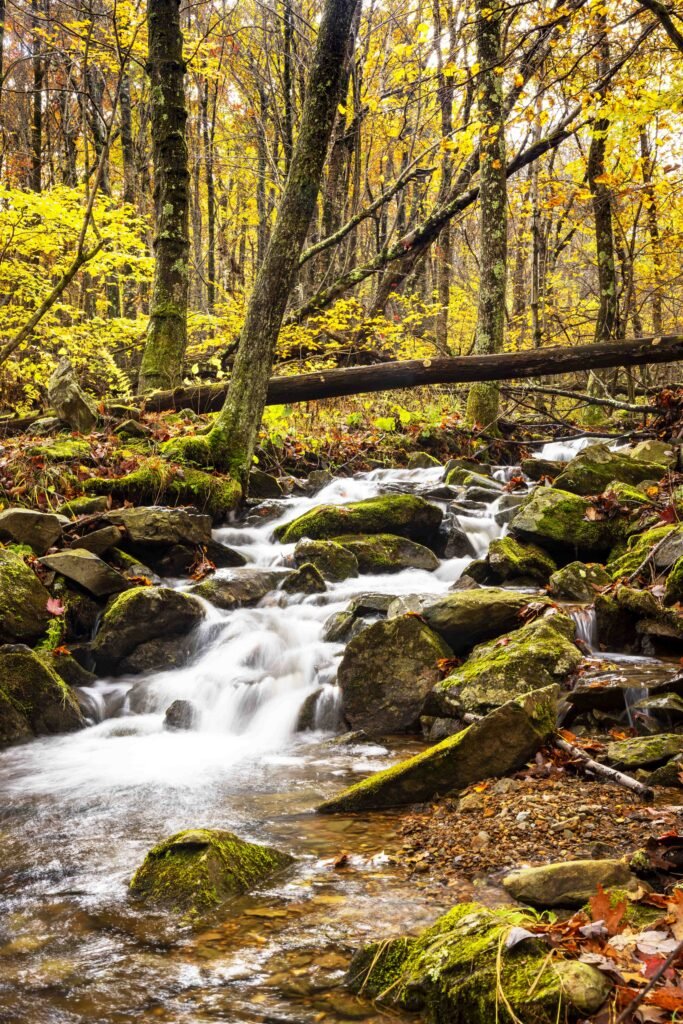
When you compose the image, position the horizon line in the lower third of the image. It’s also a good idea to place the waterfall to one side of the image.
6 - Rotate the camera 90 degrees when photographing a waterfall. This is known as portrait format. Rotate the camera 90 degrees any time you photograph a subject that is taller than it is wide. The only exception to this rule would be a waterfall like Niagara Falls that is actually wider than it is tall. I always have an L-bracket on my camera so I can quickly switch from landscape to portrait.
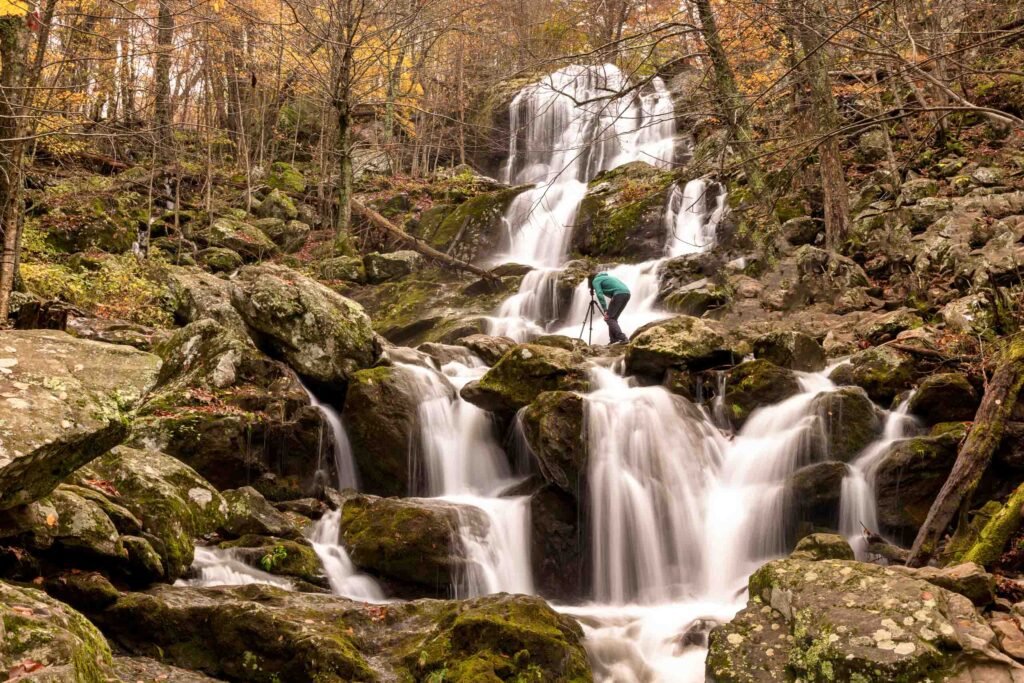
7 - Take a picture downstream from a waterfall. You’ll often find wonderful details when you venture a couple of hundred feet downriver from a waterfall, such as this image that was photographed a few hundred feet down a waterfall in Shenandoah National Park.
Camera Gear I use for These:
- Camera: Canon EOS R5
- Lens: Canon EF 24-105mm f/4L IS USM Zoom Lens
- Tripod: Peak Design CF Travel Tripod
- Polarizer Lens: B + W Circular Polarizer Kaesemann - Xtra Slim Mount
- L-Bracket : SUNWAYFOTO PCLO-R5 L Bracket
Wrapping Up
This will be added to my travel photography tutorial series. These long exposure photos make a huge impact on your travel photos or videos. Pair this with an Iphone Hyperlapse and you've got a banger of a travel video!
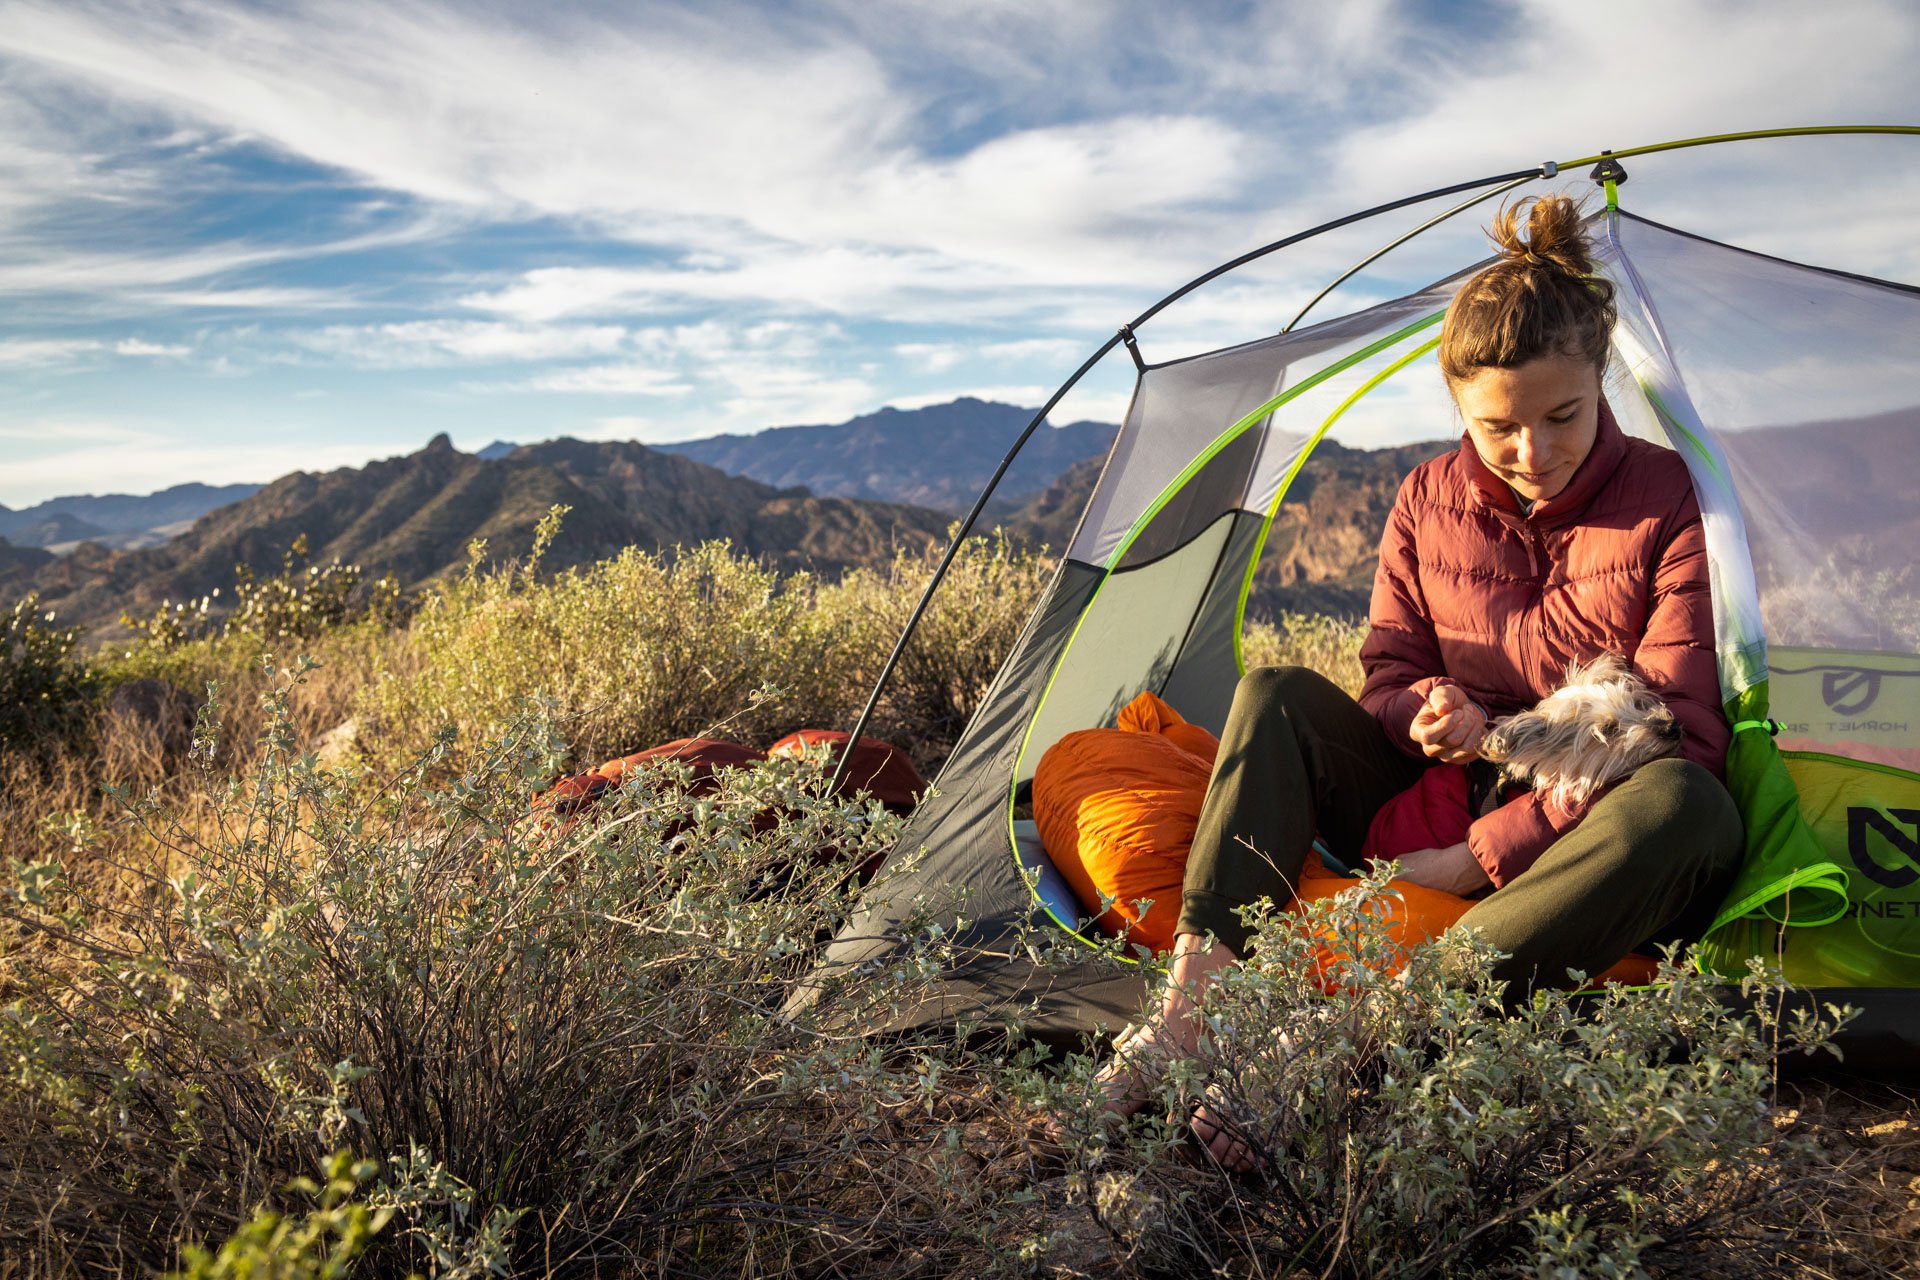
OUTDOOR
ADVENTURE
Featured Posts
HIKING
|
FLY FISHING
|
CAMPING
|
BACKPACKING
|
GEAR REVIEWS
|
HIKING | FLY FISHING | CAMPING | BACKPACKING | GEAR REVIEWS |
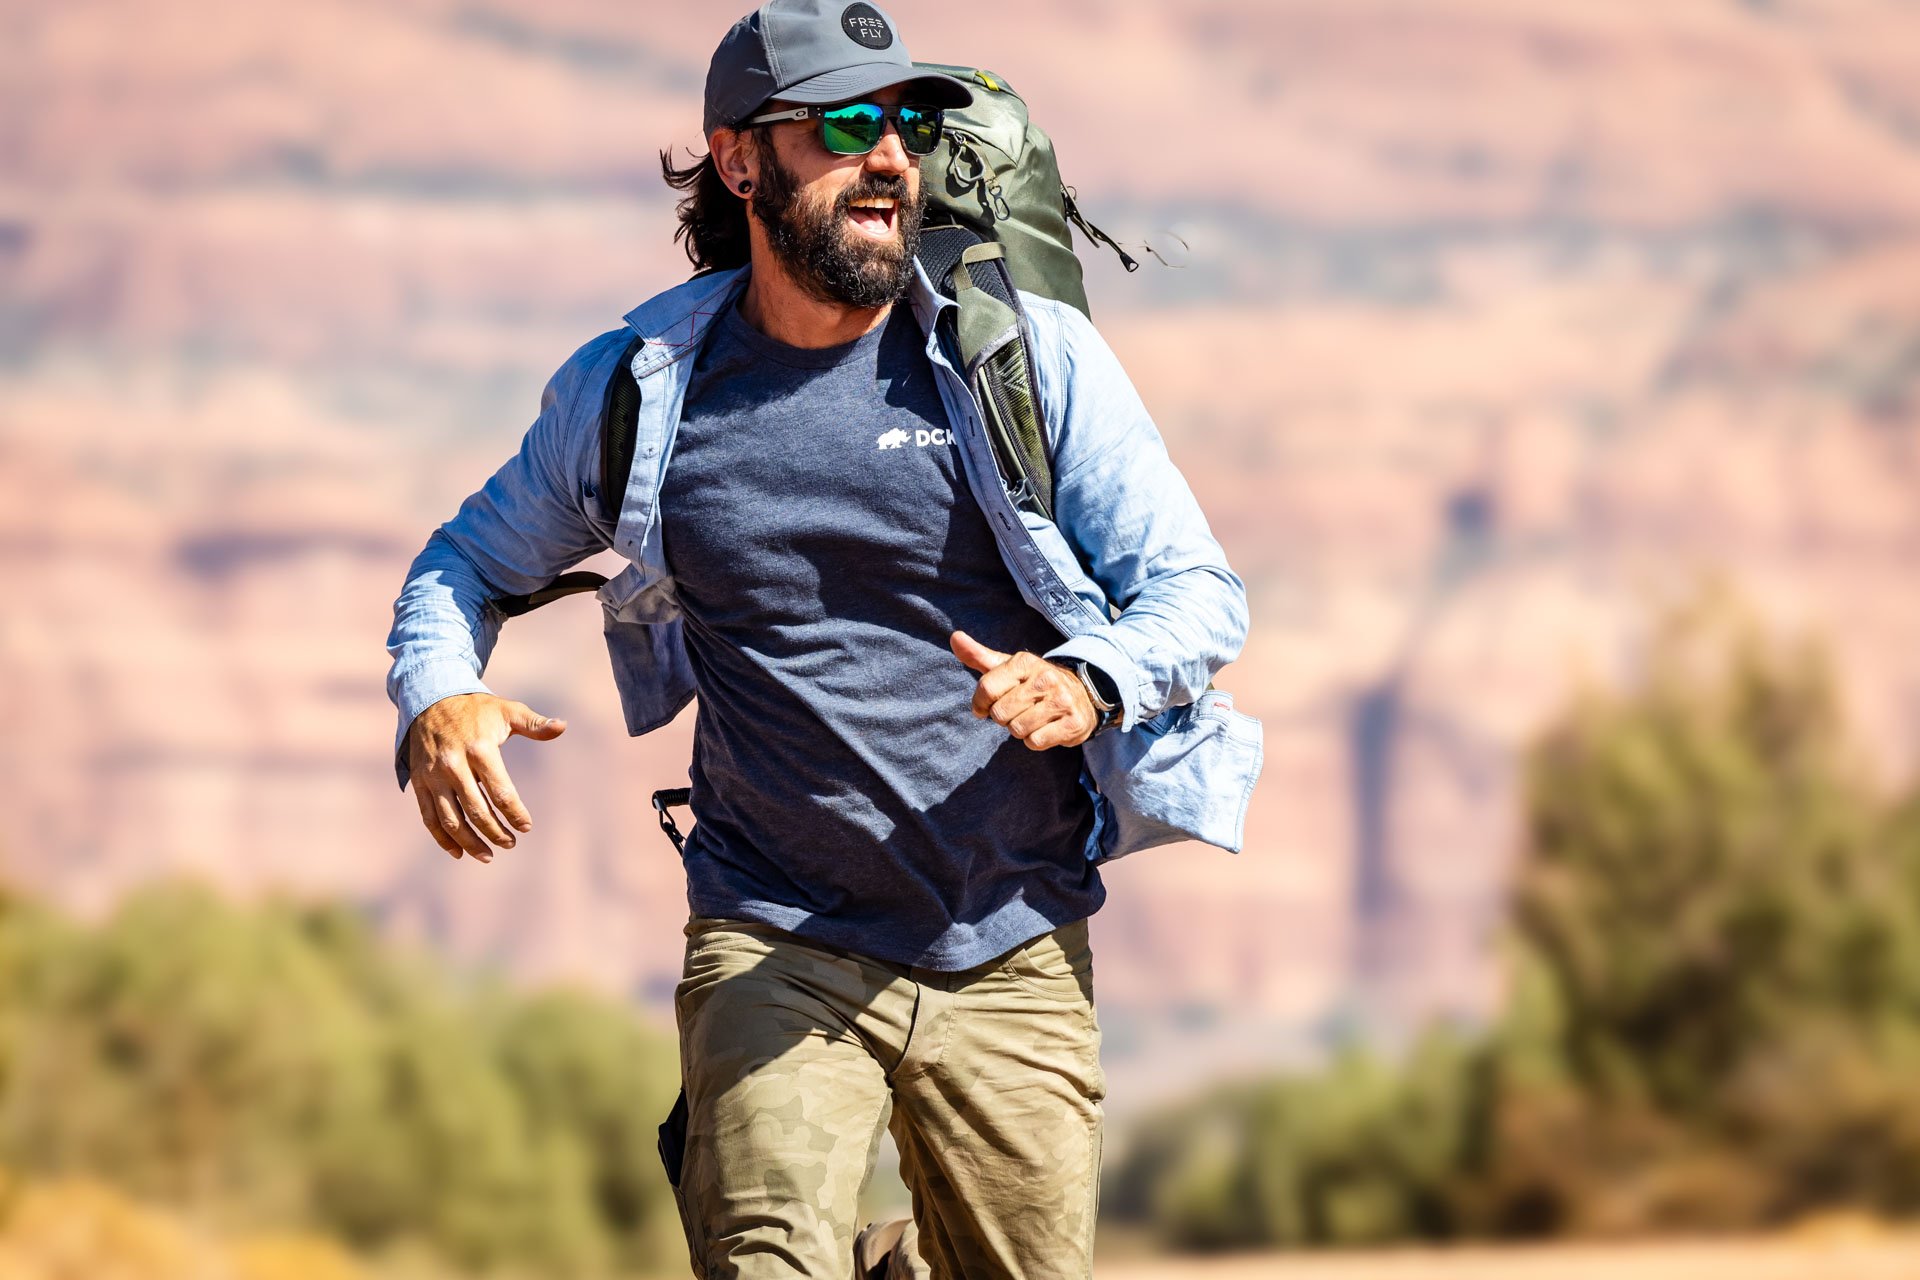
Best of
Top Clothing Brands of 2023
Discover unbeatable deals on Patagonia winter essentials at the REI Outlet sale! Get up to 40% off on jackets, parkas, and more.
Subscribe to Our Newsletter
Sign up with your email address to receive news and updates.
Get in touch.
Just like in a hardcore round of intense pickleball, communication is key! Reach out with any questions, comments, beer recommendations, inquiries, critiques and jokes.























A well-equipped car camping kitchen setup makes outdoor cooking effortless. Here’s my essential gear list—powered coolers, Jetboil stoves, storage solutions, and more—to help you cook like a pro on the road.